Page History
This workflow is for Compact Card backup If you don't have the CF card and only the media we can fix it by getting a camera and formatting a card and then putting your media back on the card.
Also try this wiki
AVID – Canon XF Utility – CF Card Data Repair Workflow
Make folders on your Backup Drive that are organized by "Day" and "Number of Cards" that are to be backed up |

|
|
Load card to be backed up in to CF Card reader. This will only work with a CF card!! Won't work with a folder backup. |


| |
Card Structure should be >CANNON XF >CONTENTS >CLIPS001 See frame grab to the Right Make sure the card has this structure |
|
Launch Canon XF Utility |


|
Go to >Canon XF Utility> |


| |
Choose to user Folder A Only |


| |
Select the CANON XF CARD Click the Backup button |


|
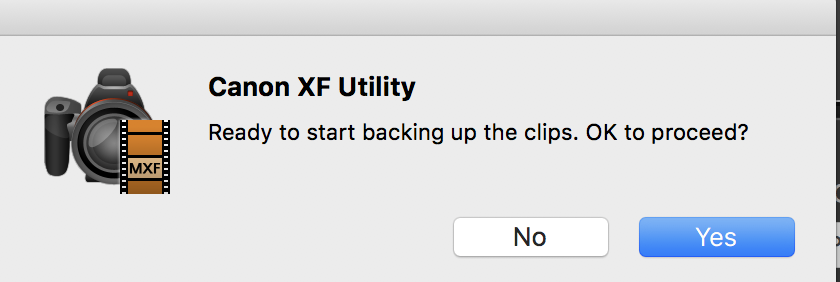
Click "Yes" |


|
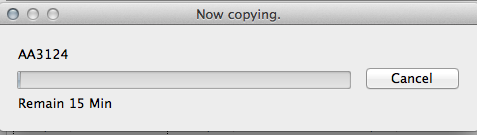
Will show a status bar of the copying process. |

Make sure this file hierarchy exists. If you are missing files like "INDEX.MIF"
And
"JOUNAL"
Don't alter or remove any files from this file structure. Leave intact when making additional backups.
| |
Clips backed up successfully YAY!! click OK |
|
When finished with backup Quit XF Utility |
|
You will end up with a folder named with the date and some other numbers in the title Example shown here. Do this for all the CF cards you want to use for editing. |
|
When finished VERY IMPORTANT EJECT THE CARD |
|


Last step is to copy the backup to a 2nd backup drive.

To Verify the copy of the 2nd backup. Open Canon XF Utility

Go to >File>Set Virtual Media

Navigate to the backup drive and folder that you just copied over to it and select the XF Utility Generated backup folder. Example shown here.

Overview
Content Tools