HOW TO MAKE SCROLLING CREDITS IN ADOBE AFTER EFFECTS
Making your credits in Adobe Photoshop CS
In Photoshop - Open up the file called “template.psd” this can be downloaded from here: Credit Roll Photoshop Template High Def and Standard Def Credit Roll Photoshop Template 2K and higher
|
|
| Ignore this error |  |
Change your view to 100% to see a larger image making typing easier. Click on the % entry at the lower left of the photoshop viewer window |
|
Click on the “Horizontal Type Tool and select the layer of text to edit/change. |
|
Click on Layer 1 in the “Photoshop Layers Window” to activate the “Left Column” of text in the “template.psd” file. Modify the credits as needed by selecting the text and typing over it. Make sure to keep template structure so alignments of text on the corresponding credits don’t get misaligned |
|
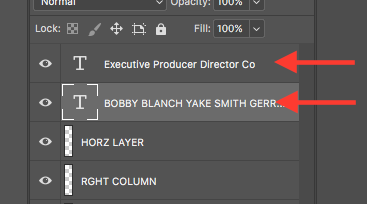
When credits are typed and aligned turn off the reference guides in the “Photoshop Layers Window” by unchecking the “eye” icons of the reference guides. If these guide lines are not turned off they will be visible in the final credits. |
|
| Uncheck the “eye” icons of the reference guides. If these guide lines are not turned off they will be visible in the final credits. |  |
Select View Fit On Screen. |
|
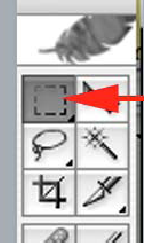
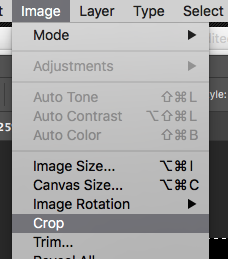
Now you are ready to crop your image to cut away the unused portion of black at the bottom of your credits. Use the Marquee Tool in the Tool menu to select all of your text by click and dragging making a frame around the credit text. |
|
Choose >Image >Crop in the Top Tool Bar. |
|
| Save the file. Choose File Save As |  |
Change format to TIFF Check Layers and Embed Color Profile sRGB
Title the file and choose an appropriate place to save your image and click Save |
|
Use these options Image Compression - None Pixel Order - Interleaved Byte Order - Macintosh Layer Compression - RLE
Click - OK |
|
| Click OK here too |  |
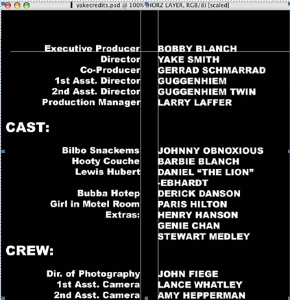
Congratulations. Your credits will look something like this. |
|


Render Rolling Credits in After Effects from the Photoshop File
Open After Effects and create a new composition by selecting Choose 2K or 4K Film
|  |
For HD Projects choose 1920 x 1080 square pixels at the correct frame rate |
|
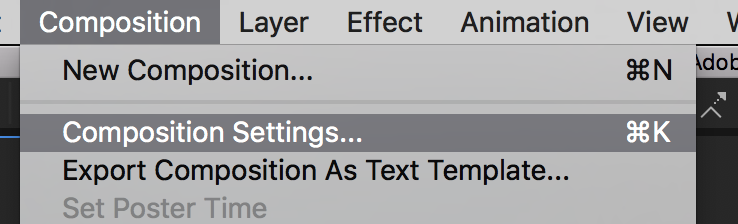
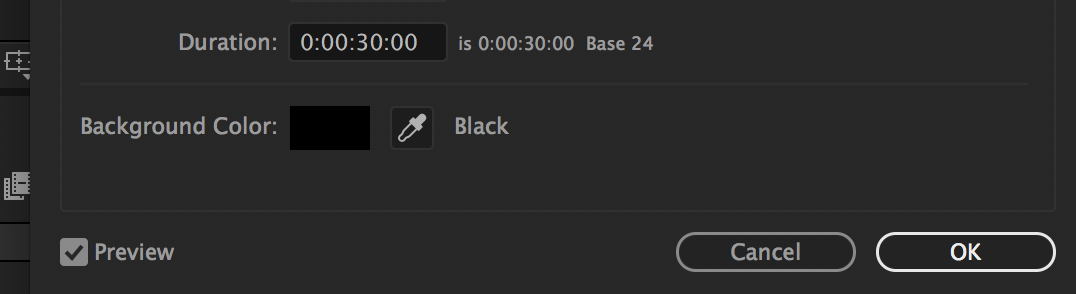
Go ton >Compostition>Composition Settings> Look at the background color>make sure it is black |
|
For example if the credits are over black then the AE background color should be black as well. |
|
Import the photoshop file of the credits to after effects and place the image into after |
|
In After Effects click on the arrow next to the Transform option to reveal the sub |
|
To set the last keyframe, click in the composition timeline and then press the END key on the keyboard. |
|
Change the numerical value of the right most # of the position indicator in Effect |
|
The second keyframe at the end of the timeline should appear after you change |
|
Add a Reduce Interlace Flicker and set |
|
If working in a 23.98 project it is recommended to add this blur effect to |
|
If all looks good render the project. |
|
The Render Queue opens. |
|
The Render Settings menu will pop open. |
|
5. Change Time Span to Length of Comp6. Check Use storage overflow |
|
Next click on the words Lossless to change the parameters of the Output Module |
|
The Output Module Settings menu will pop open. |
|
Compression Settings menu will open |
|
Back in the Render Queue click on the blue text next toOutput To |
|
Under Save As: Name your clip keeping the .mov extension |
|
All the parameters are changed and the Render Queue should look like this |
|


Overview
Content Tools