Import the 5.1 Interleaved File into your Premiere Project |
|
Select the file and import |
|
Next need to check the sync in your final timeline. |
|
Load the copy of the timeline by double clicking it to load in the program monitor |
|
Test your surround interleaved mix with the timeline you just loaded by dragging it into your picture locked timeline and check for sync. |
|
| The next step is to do a Sequence Export with Video Only that Matches the Sequence settings |
|
| |
| |
| |
Click on the New Item and choose Sequence |
|
Choose Sequence |
|
Choose DNxHR HQ 2K 23.976 |
|
Choose Custom 1998 x 1080 settings for FLAT DCP's or 2048 x 858 for SCOPE DCP's DONT' HIT OKAY YET |
|


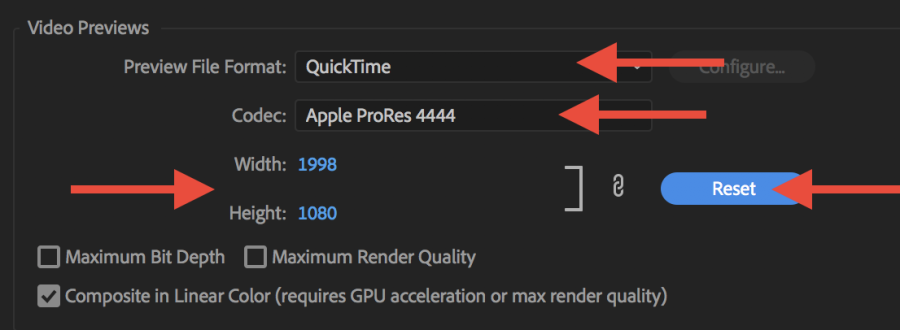
Go to the Video Previews |
|
Change the Codec to Apple ProRes 4444 |
|
DCP – Scope Settings DONT' HIT OKAY YET |
|


CLICK ON THE TRACKS TAB NEXT Click on the Tracks Tab and then delete the audio tracks DONT' HIT OKAY YET |
|

Set Video to 1 track |
|
Change the Track Type of the one audio track left to 5.1 |
|
Title the sequence and click OK |
|
Drag the imported file to the timeline so the beginning is at the beginning of the timeline |
|
Make a video only edit on to your timeline on top of the 5.1 audio and make sure they line up |
|
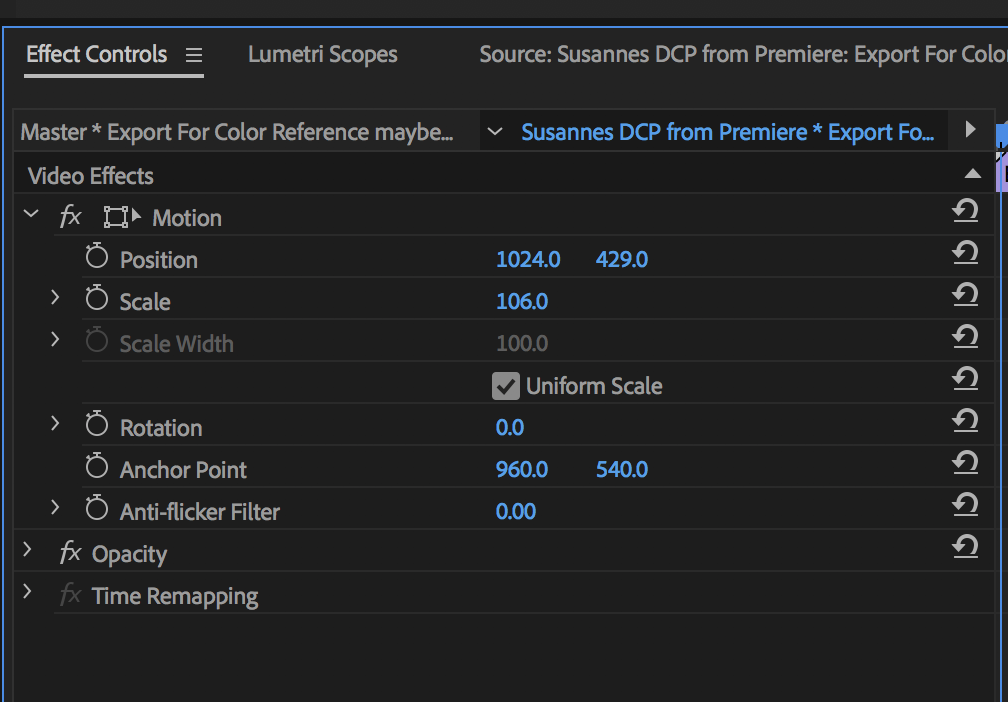
Scaling ? Click on the Effects tab
may need to scale up your timeline but you will loose a little at the top and bottom |
|
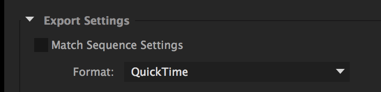
| Export the QuickTime |
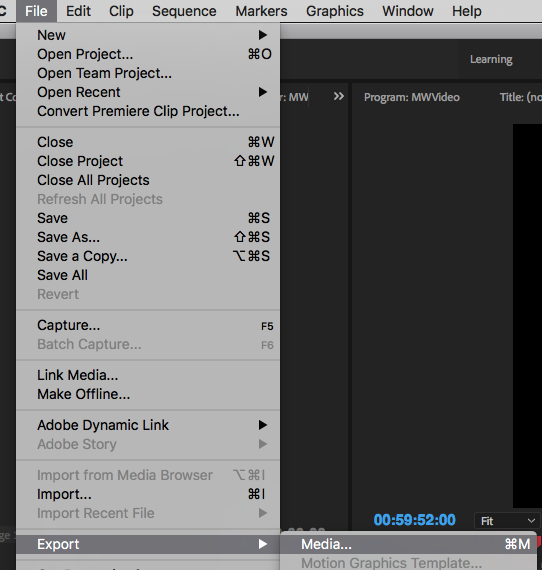
Click on the Sequence to export and choose >File>Export>Media or click "Command M" |
|
| Choose Format QuickTime |
|
| Choose to Export Video and Export Audio |  |
Preset Settings won't work we will have to make a custom setting. But in the meantime choose GoPro whatever so we can modify it |
|
Click on the Video tab and choose the Video Codec as Apple ProRes 4444 |
|
Go to Video>Basic Video Settings Change to 2048 x 858 scope movies or 1998 x 1080 flat 23.976 Field Order - Progressive Aspect - Square Pixels |
|
Click on Output Name - and choose where you want to save the file. DONT' CLICK EXPORT YET |
|


Click on Audio tab and choose |
|
Sample Rate 48 |
|
| Audio Channel Configuration |
Choose Export |
|
You may find other ways to do this on the internet. Ways that may seem legit, from legit organizations, like this one: |


Overview
Content Tools