Confirm that you have your microphone and webcam properly installed and setup. Check your System Requirements for compatibility with Zoom. Check if you already have the Zoom application installed on your computer: Zoom provides an integration with Canvas that makes it very easy to set up class sessions, whether they be lectures, discussion sections, or any other meeting. These sessions are then automatically placed on participants' calendars within Canvas. To begin using Zoom through Canvas, you'll first have to authorize it. This will only need to be done the first time you use Zoom. To authorize Zoom to be used in Canvas: Once authorized, you will see the following Zoom integration page that lists all your Zoom MeetingsVerify Your Hardware
Installing Zoom
![]() > Scroll Start Menu to Zoom folder > Click "Start Zoom".
> Scroll Start Menu to Zoom folder > Click "Start Zoom".![]() > navigate to your Applications Folder > Zoom application will be listed.If you have a University-owned laptop, you might need administrator permission on your computer to install Zoom applications, plugins, and extensions. Please contact your departmental or local IT support group for assistance.
> navigate to your Applications Folder > Zoom application will be listed.If you have a University-owned laptop, you might need administrator permission on your computer to install Zoom applications, plugins, and extensions. Please contact your departmental or local IT support group for assistance.
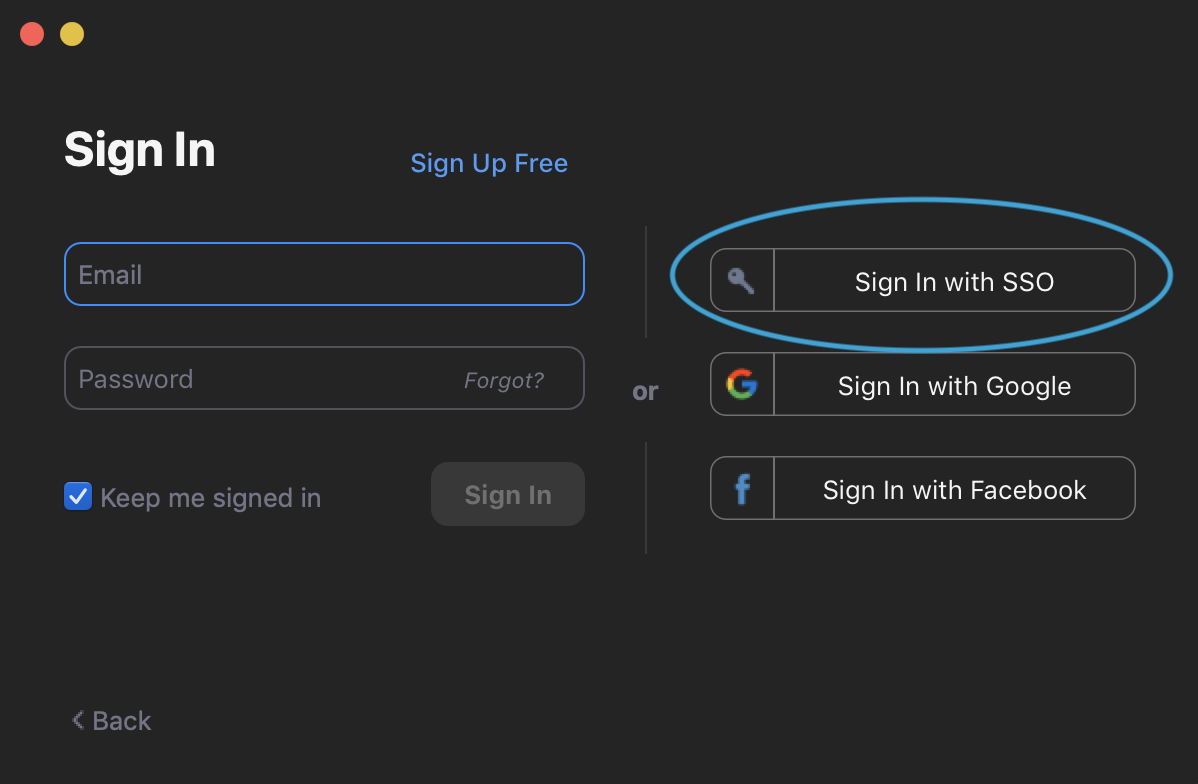
Download Zoom directly from any of the following links:Sign into the Zoom Desktop Client


Install the Zoom App for Mobile (iOS or Android)
Authorizing Zoom in Canvas
 Unless the "Show my course meetings only" checkbox is checked, this view will list all of your Zoom meetings, not just the meetings for this course.
Scheduling Your Class Session in Canvas
To schedule your Zoom lecture in Canvas:
Open your course in Canvas
- From the sidebar, click "Zoom"
- Click the blue "Schedule a New Meeting" button
- Fill out the settings for your meeting as desired. You can provide a topic, description, decide the time and duration, and more.
- We recommend setting the topic to the course number, e.g., "E 303D Discussion"
- Your meeting time and duration should be set to that of your regular class session. In our below example, the class meets for an hour at 12pm.
- By selecting "Recurring meeting", you can automatically schedule the event to repeat each week. Use the "Weekly" option and select the days on which your class occurs.
- Be sure to uncheck "Require meeting password". This option is not necessary and may complicate the process of joining for your students.
- You may wish to check the "Mute participants upon entry" option. This will prevent background noise from students or other participants from being immediately broadcast when they enter the meeting.
- Use the "Enable waiting room" option. This will allow the students to join the meeting before the planned start. You can then admit all students to the meeting once the instructor is ready for the class to begin. You can read more about the Waiting Room here.
You can record your class session using the "Record the meeting automatically" option shown in the screenshots below. When recording, use the "In the cloud" option. This will automatically save your Zoom meetings as recordings that you can view in the "Cloud Recordings" tab.
- Once recording has stopped, it will be processed by Zoom and automatically added to your Cloud Recordings. These may take some time to process, after which you will receive an email notification stating that they are ready.
- Please note: You will need to click the "Publish" toggle on these recordings to make them available to your students.
- Once recording has stopped, it will be processed by Zoom and automatically added to your Cloud Recordings. These may take some time to process, after which you will receive an email notification stating that they are ready.
- When configured to your liking, click "Save" to save your meeting. It will automatically be added to your Canvas calendar, as well as to your students' calendars.
 e
e

Overview
Content Tools