Basics of Screen-Sharing
- Make sure you have your PowerPoint deck open and ready to go
- When you're ready to display your slides, just share your screen using the steps in the video below.
- After you are sharing your screen you can switch to Slide Show mode in Powerpoint and begin your lecture
- Once you are done you can stop your screen share.
Do you have Dual Monitors or One?
One Monitor
- It may feel a bit crowded if you have a large single monitor, but it can work well if you mostly lecture and seldom show anything other than slides.
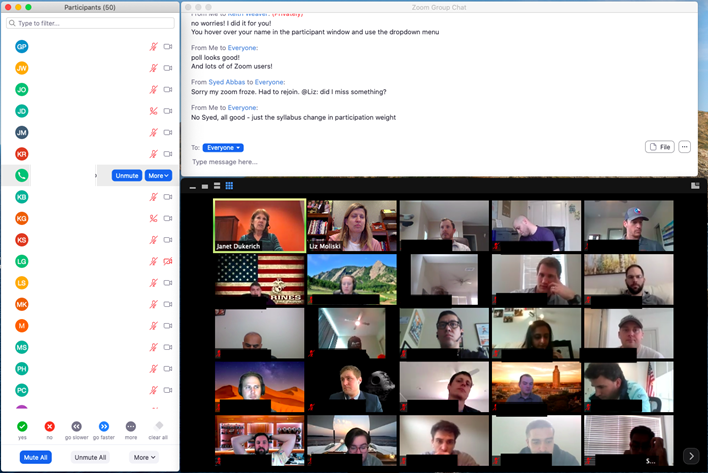
- Create an “online representation” of your offline classroom with the screenshots of students. Put the chat window and participant window on the right (Zoom's default). Resize it so that this takes up only the right 60-70% or so of the screen as shown below in the Monitor 2 example.
- Convert your slides to a pdf and fit them into the remaining left side of your screen, to the left of the screenshots of students. Share just your slides. Note that you can also share part of your desktop if you look under the Advanced tab when you share.
Dual Monitors
If so try the following setup:
- Monitor 1: share the material (document, video) with students

- Monitor 2: has chat window, participant window, and screenshots of students
This way you can create an “online representation” of your offline classroom.
See the following two slides for how that works.
Still need help?
For McCombs faculty, please contact Media Services via email or phone:
- Email VC-Trouble@mccombs.utexas.edu
- Call 512-232-6679 (GSB/CBA) and 512-232-4646 (RRH)
For all other UT faculty, please contact your respective college or school