The following instructions will detail how to download an existing Zoom recording and upload it to your Panopto instance for a separate course or new semester.
Regarding FERPA
Please review University guidelines regarding educational records before copying or transferring material between discrete courses or semesters.
Due to restrictions in place to prevent students from directly downloading class recordings, Zoom cloud recordings must be downloaded from the Zoom web portal at https://utexas.zoom.us/. To do so: From the listed recordings, select your desired class session If you have very many Cloud Recordings, you can use the Search feature to more easily locate the desired recordings.Downloading Your Zoom Recording


You can search by:
Once you have a local copy of your Zoom recordings, you can easily upload them to Panopto. Once in Panopto, they can easily be copied or moved to new courses, in the same or different semesters, as you need. The following steps detail how to access your Panopto recordings within your Canvas course. You can also view a video version of these instructions, provided by the School of Information. A new window will appear, prompting you to select or drag-and-drop your media The media files will be uploaded, displaying their current status - whether they're still uploading or have completed You may continue to drag-and-drop or select additional media files, as necessaryUploading Your Zoom Recording to Panopto
Navigating to Panopto in Canvas
Panopto folders are linked to each individual course, meaning your Panopto media will not appear directly on your Canvas homepage. The Panopto Video Dashboard can only be found within each individual course in Canvas.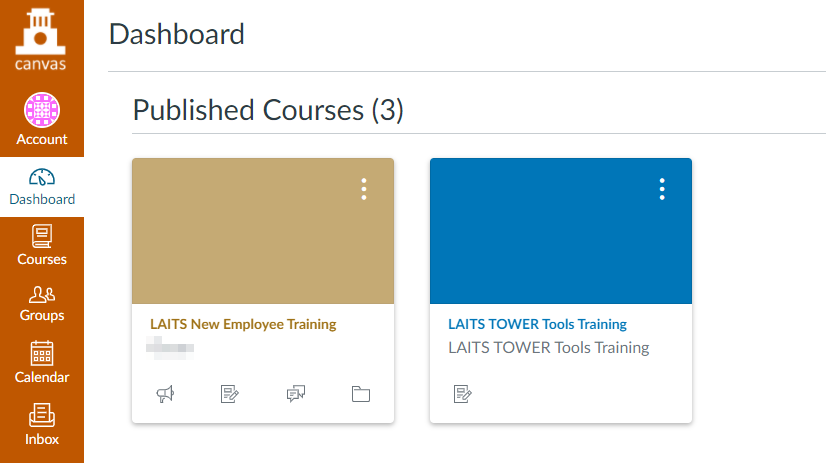


Uploading Video Files to Panopto

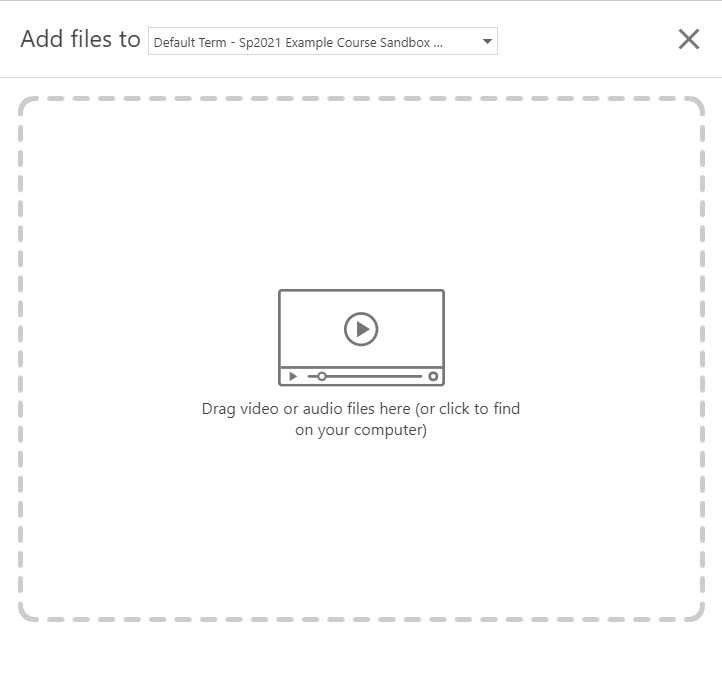 You can drag-and-drop or select multiple media files at once, allowing you to upload them in bulk

Overview
Content Tools