The First step is to do a Sequence Export that Matches the Sequence settings. This will be your VIDEO file that you will combine with your surround sound mix. The steps that follow show you how to make a "Video Mixdown" to add to your NEW SURROUND Sound timeline that we are going to make later in this wiki. | 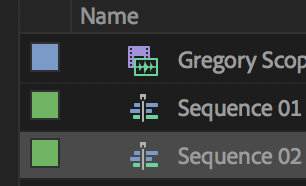 |
| Go to >Sequence>Sequence Settings |
|
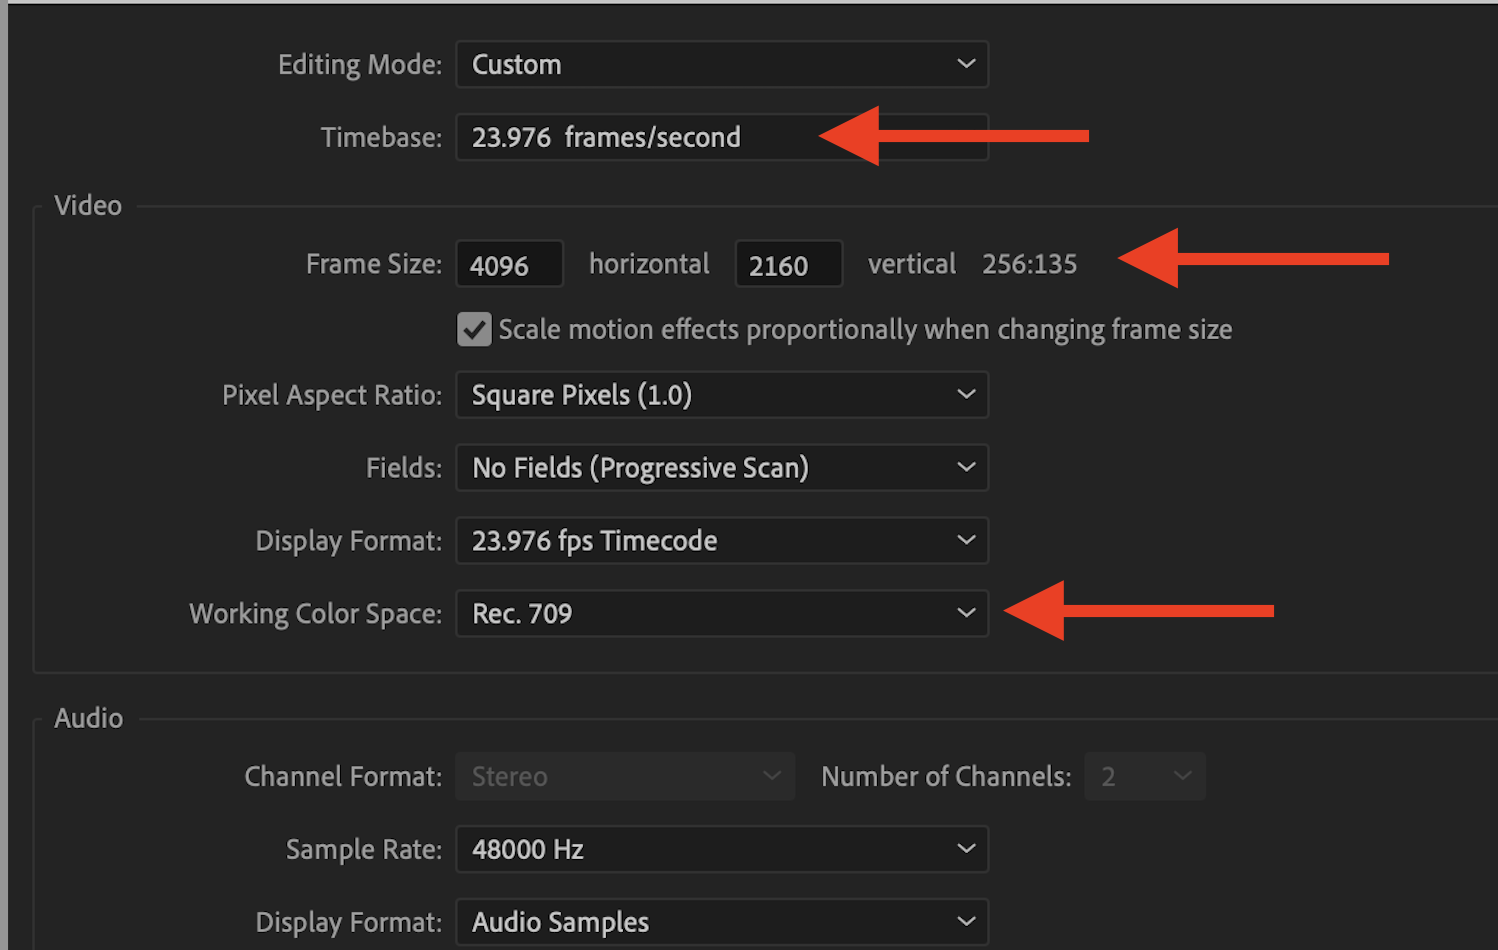
Sequence Settings most common: Look at the Timecode - should be 23.976 or 24 Frame size should be 4096 x 2160 or 3840 x 2160 or 2048 x 1152 Working Color Space REC 709 NOTE WHAT ASPECT RATIO OF THE SEQUENCE |
|
| Export it go to >File>Export>Media |
|
Select the final timeline you want to export and choose >File>Export>Media |
|
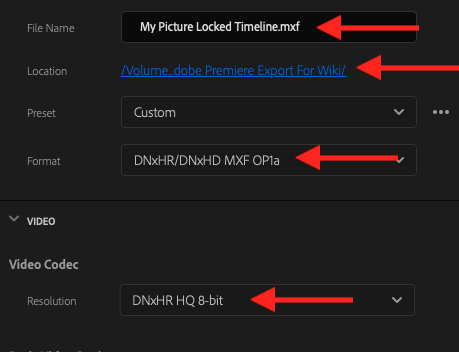
Name your file Choose Format > DNxHR/DNxHD MXF OP1a Video Codec DNxHR HQ 8-bit |
|
Then choose the frame size of your tmeline >4K >UHD >Full HD Depending what your timeline aspect ratio |
|
Frame Rate should be 23.98 |
|
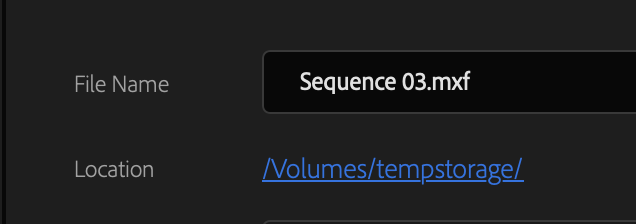
>Click on the Output Name Title it and choose where you want to save the file by clicking on Location |
|
| Choose the destination for the file Save it to your storage drive etc. . . |
|
Click on Export in the lower right corner |
|
The file will export for a bit so wait for that. In the meantime locate your Sound Mix files. The sound mixer should of exported a Surround Interleaved 5.1 .wav file |
|
The file should look similar to this 5_1.wav file Don't want the ones labeled Stem they are not the full mix |
|
We suggest making a new Bin to put the final files into for organization >File>New>Bin |
|
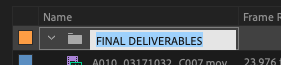
Title the bin >Final Deliverables or similar then open the Bin to import the image and sound files into |
|
Import the 5.1 Interleaved File into your Premiere Project RT click in the new bin and choose Import |
|
Select the file and import |
|
Import the Video File you just exported that matched the Sequence Settings Choose only the .mxf that exported there will also be a .xmp but you can ignore that |
|
Click on the New Item and choose Sequence |
|
Choose Sequence |
|
Choose DNxHD HQ 1080 23.976 |
|


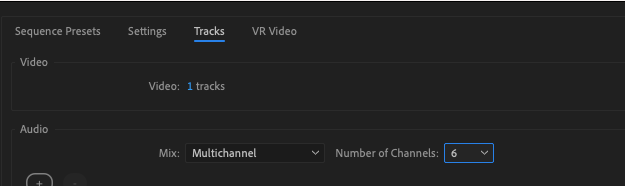
CLICK ON THE TRACKS TAB NEXT Click on the Tracks Tab and then delete the audio tracks DONT' HIT OKAY YET |
|

Set Video to 1 track |
|
Change the Track Type of the one audio track to 5.1 |
|
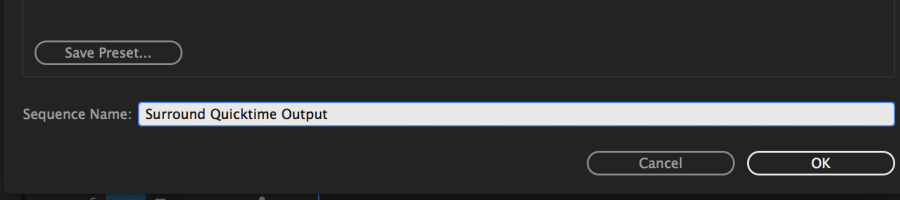
Title the sequence and click OK |
|
Double click the exported Video file to load it into the source monitor Drag the Video Only icon to your newly created timeline |
|
| Choose to Keep existing settings |
|
| Double Click the Surround Audio File to load the sound mix (5.1 Interleaved) file into the source monitor |
|
and drag the audio only tracks to the timeline Place on the 5.1 track in the new sequence you just made |
|
YOU will be only able to check audio tracks 1 and 2 so you won't hear dialog but hopefully you can tell well enough.The final check will be the QuickTime you will make next.REMEMBERDELETE THE 2 POP AT THE BEGINNING AND AT THE END |
|
Next Export the surround file Make sure the sequence is loaded in the Timeline Window and then select the timeline window so it's Highlighted Blue |
|
Go to >File >Export>Media |
|
File Name - Title of the movie Location choose where you are going to save the file Preset - High Quality 1080p HD Choose Format H264 |
|
Basic Video Settings Choose Full HD 1920 x 1080 |
|
Audio - Choose |
|
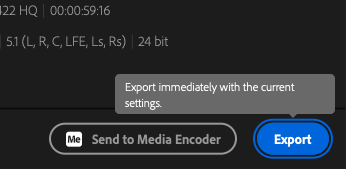
Choose >Entire Source >Check the Output settings so they match H.264, 23.98, Note if you don't see the channels 5.1 L,R,C.LFE,Ls,Rs in the export setting click back intoEdit Tab and then back to export and the channels show up properly (buggy) |
|
| Then choose Export |
|


Overview
Content Tools