Launch the ISIS Client Manager and mount your AVID ISIS volume if you have one. Or make sure your hard drives are connected with the Sony F5 footage loaded on them. |
|
Launch AVID |
|
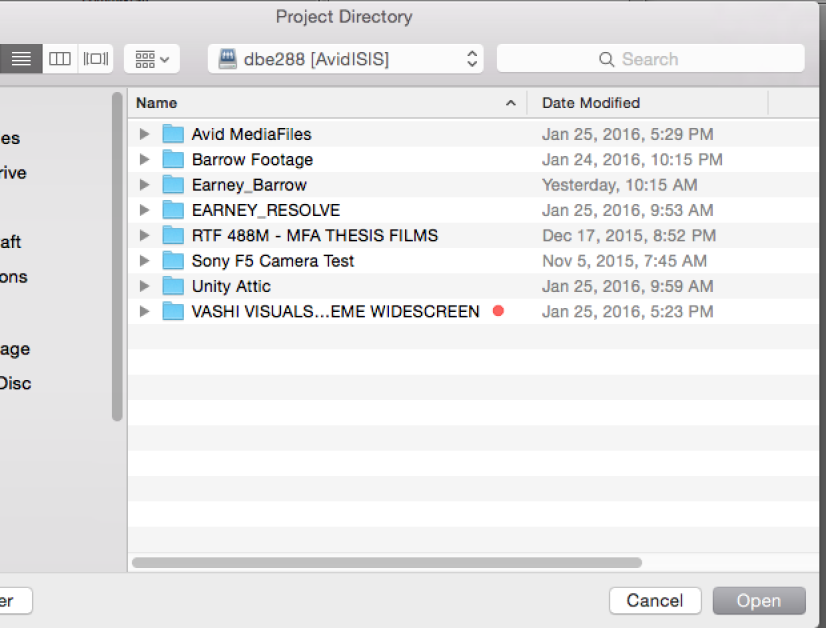
In the AVID Select Project Window choose the Folder Icon to select the destination to store your new project. |
|
Navigate to the location you would like to save your project and select "Open" |
|
Select "New Project" |
|
Choose a name for your project> |
|
In AVID Choose >Tools>Source Browser |
|
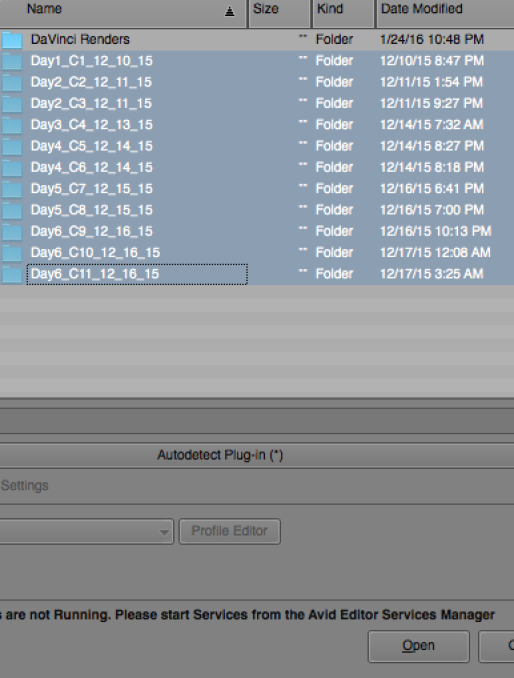
Navigate to the files that contain your F5 footage and any other clips that you would like to bring into your project. |
|
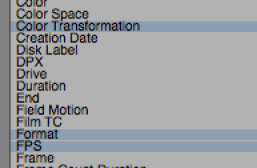
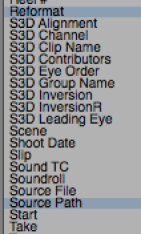
Right Click on the Grey Bar at the top of the Bin and "Choose Columns" |
|
Choose the following at least> |
|
Choose Reformat to see what AVID will do when it shows the file in 1080. |
|
Choose Video |
|
The columns will appear in the bin |
|
To look at the LUT that AVID automatically chooses to apply to your files right click the clip and choose "Source Settings" |
|
The default LUT is probably the most accurate but you can import LUTS using the Color Management Settings and or loading templates from the drop down |
|
Select the AMA linked Clips in the bin and choose "Consolidate/Transcode" |
|
Choose Transcode> |
|
The Resulting clips will have the following settings. |
|
Move all the transcoded files to their own bin and close the AMA linked files bin because we will use that bin when we do the final conform to the "Native" files. | The next step is to organize the files by shoot day then use this |
| NOTE THIS IS THE OFFLINE PROJECT SETUP - YOU WILL NEED TO READ THIS WIKI FOR RELINKING TO THE "UNCOMPRESSED" FILES FOR FINAL CONFORM | AVID – How To Export an .aaf and QuickTime export to Davinci Resolve After Relinking to 2K or 4K Native files |


Overview
Content Tools