Look at this link on the ATOMOS Ninja Page
https://www.atomos.com/cameras/sony-a7sii
Attach the lens Line up the White Dot on the Lens and turn clockwise to secure |
|
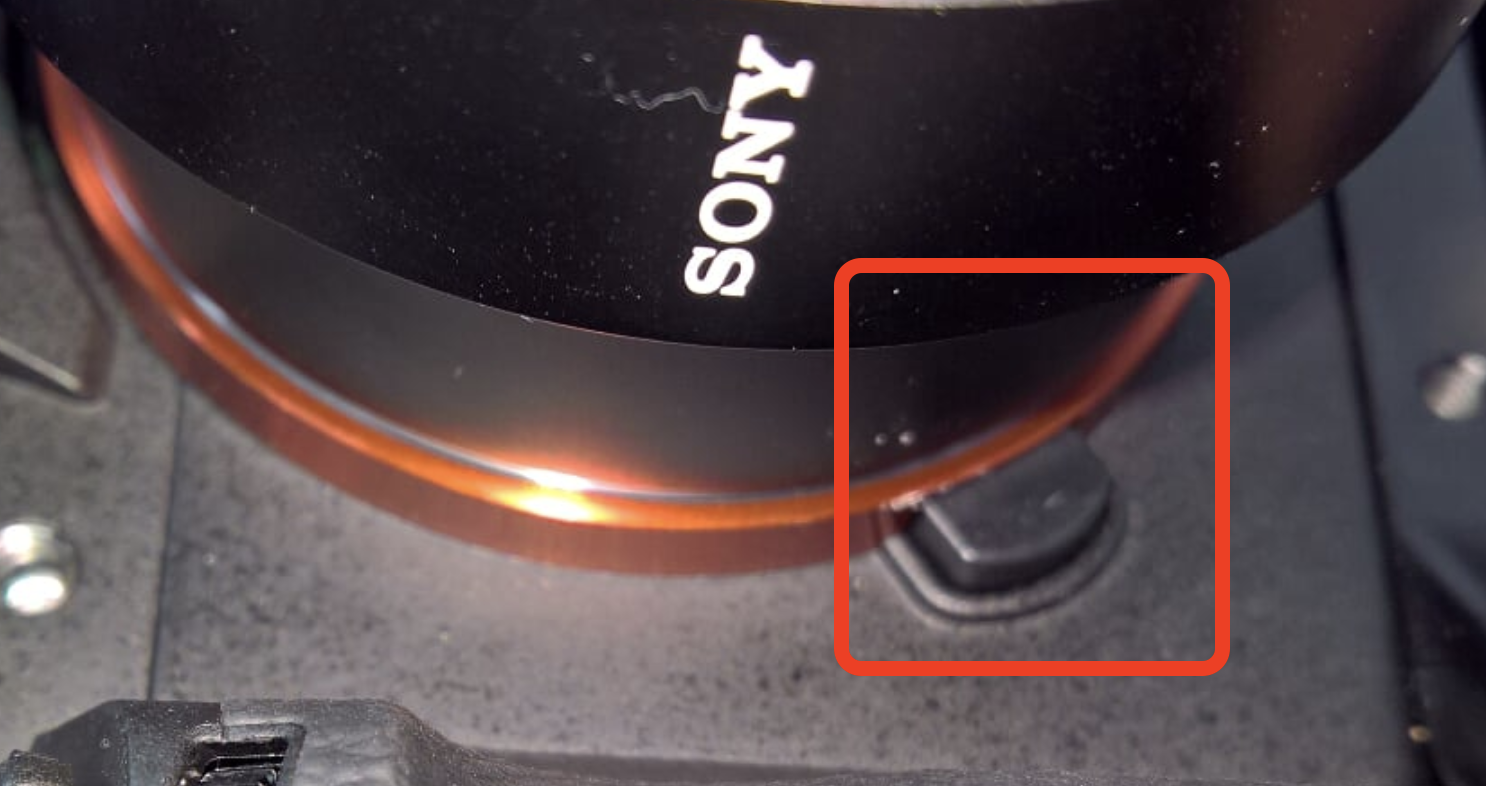
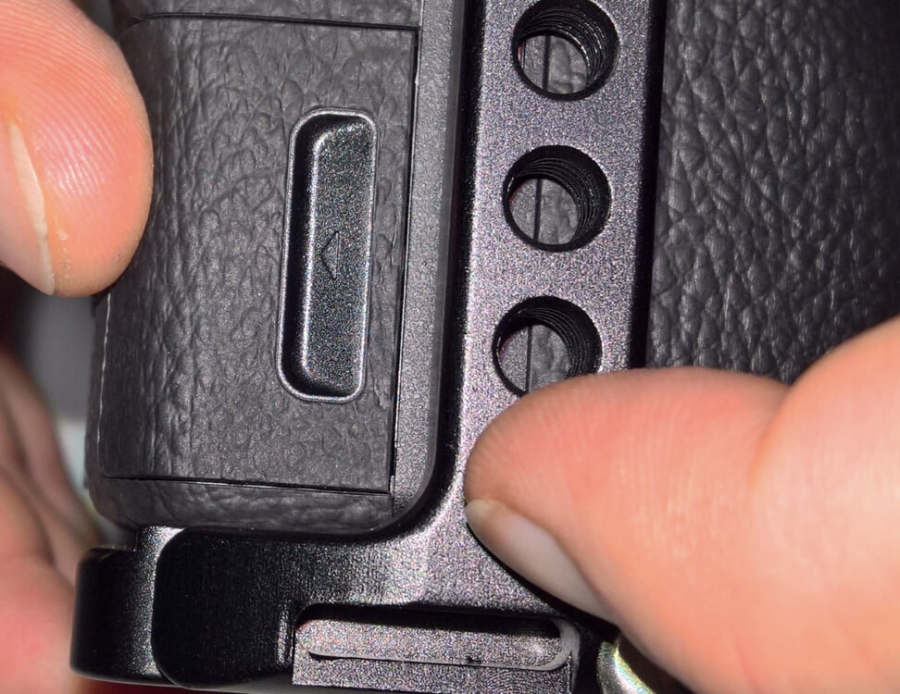
| To remove the lens when you are finished there is a "Release" button on the camera. |
|
| and turn the camera on |
|
Open the door for the SD card and |
|
Insert the card in the card slot |
|
| Make sure the Camera is set to Video on the Dial on top of the camera |
|
Press the Menu button on the top of theCamera to access the MENUs |
|
This dial will navigate the menus |
|
The menu settings referenced in this Wiki are for Version 3.0 of the Firmware on the Sony A7S II Firmware changes sometime move the menu items so we may be one off on some of the menu settings. The setting will be close in number to the referened menu so you may have to look for it. |
|
The dial on the right of the screen will also navigate the menus and pressing the inner button will select the menu item. |
|
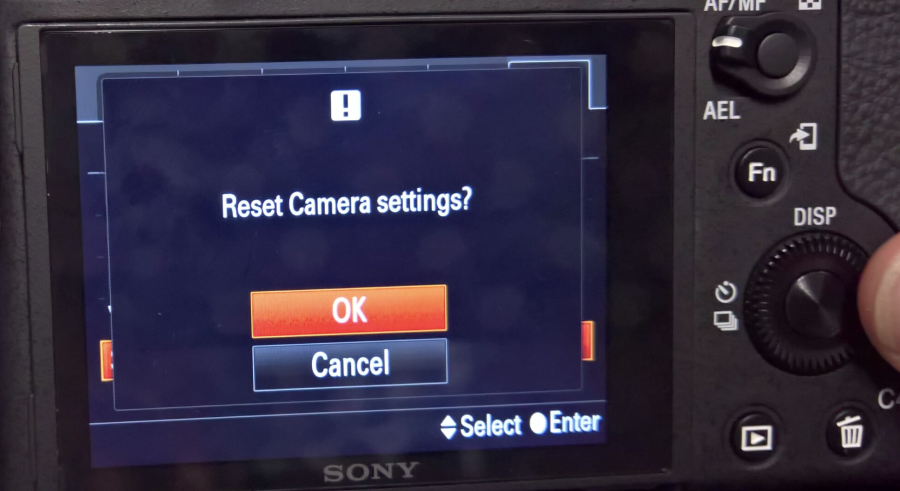
Choose the setting "Camera Settings Reset" |
|
Choose OK to Reset the Camera Settings. Camera will reboot and reset the menus to default. |
|
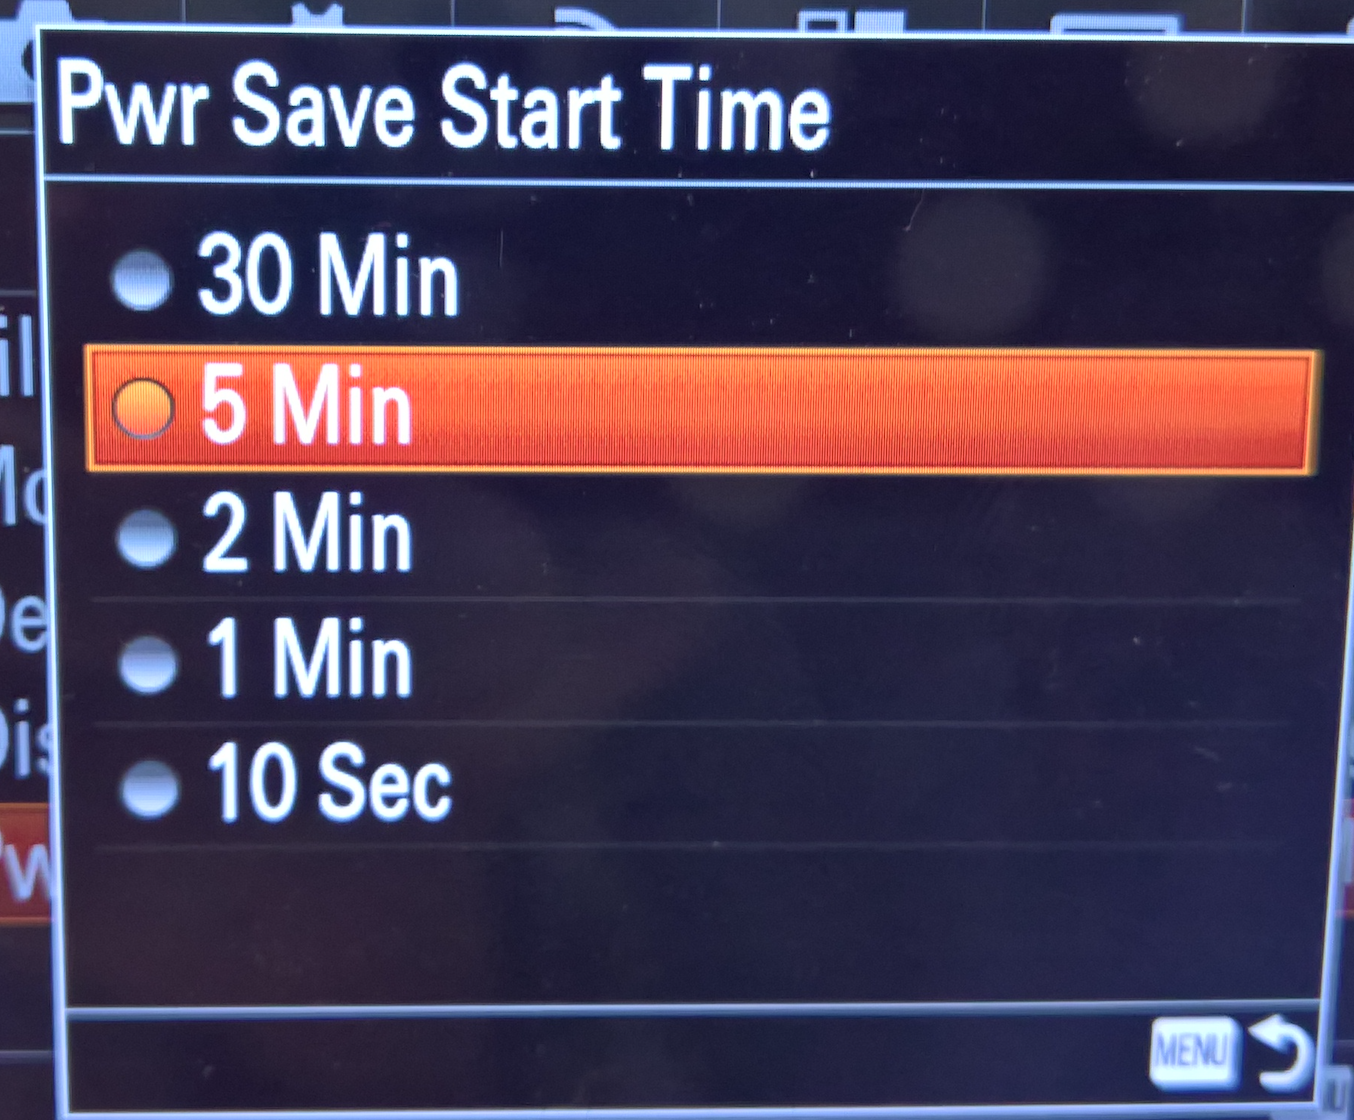
First Scroll horizontally to the "Toolbox" icon menu and then scroll over to tab #2 Then navigate down to the Pwr Save Start Time and set it to 5 Min from the default 10 seconds
|
|
Next we need to format the SD cards. |
|
All Data will be deleted and click "Enter" to begin the formatting of the card. |
|
The Formatting will take a few seconds. |
|
Next go to the "Camera" icon Menu Tab and choose page #1 of that menu Click on Aspect Ratio |
|
Change the setting to 16:9 |
|
Next go to the "Camera" icon Menu Tab and choose page #2 of that menu |
|
File Format choose XAVC S 4K if you want to record UHD |
|
Now change the Record Setting by selecting it |
|
These are the recommended recording settings here |
|
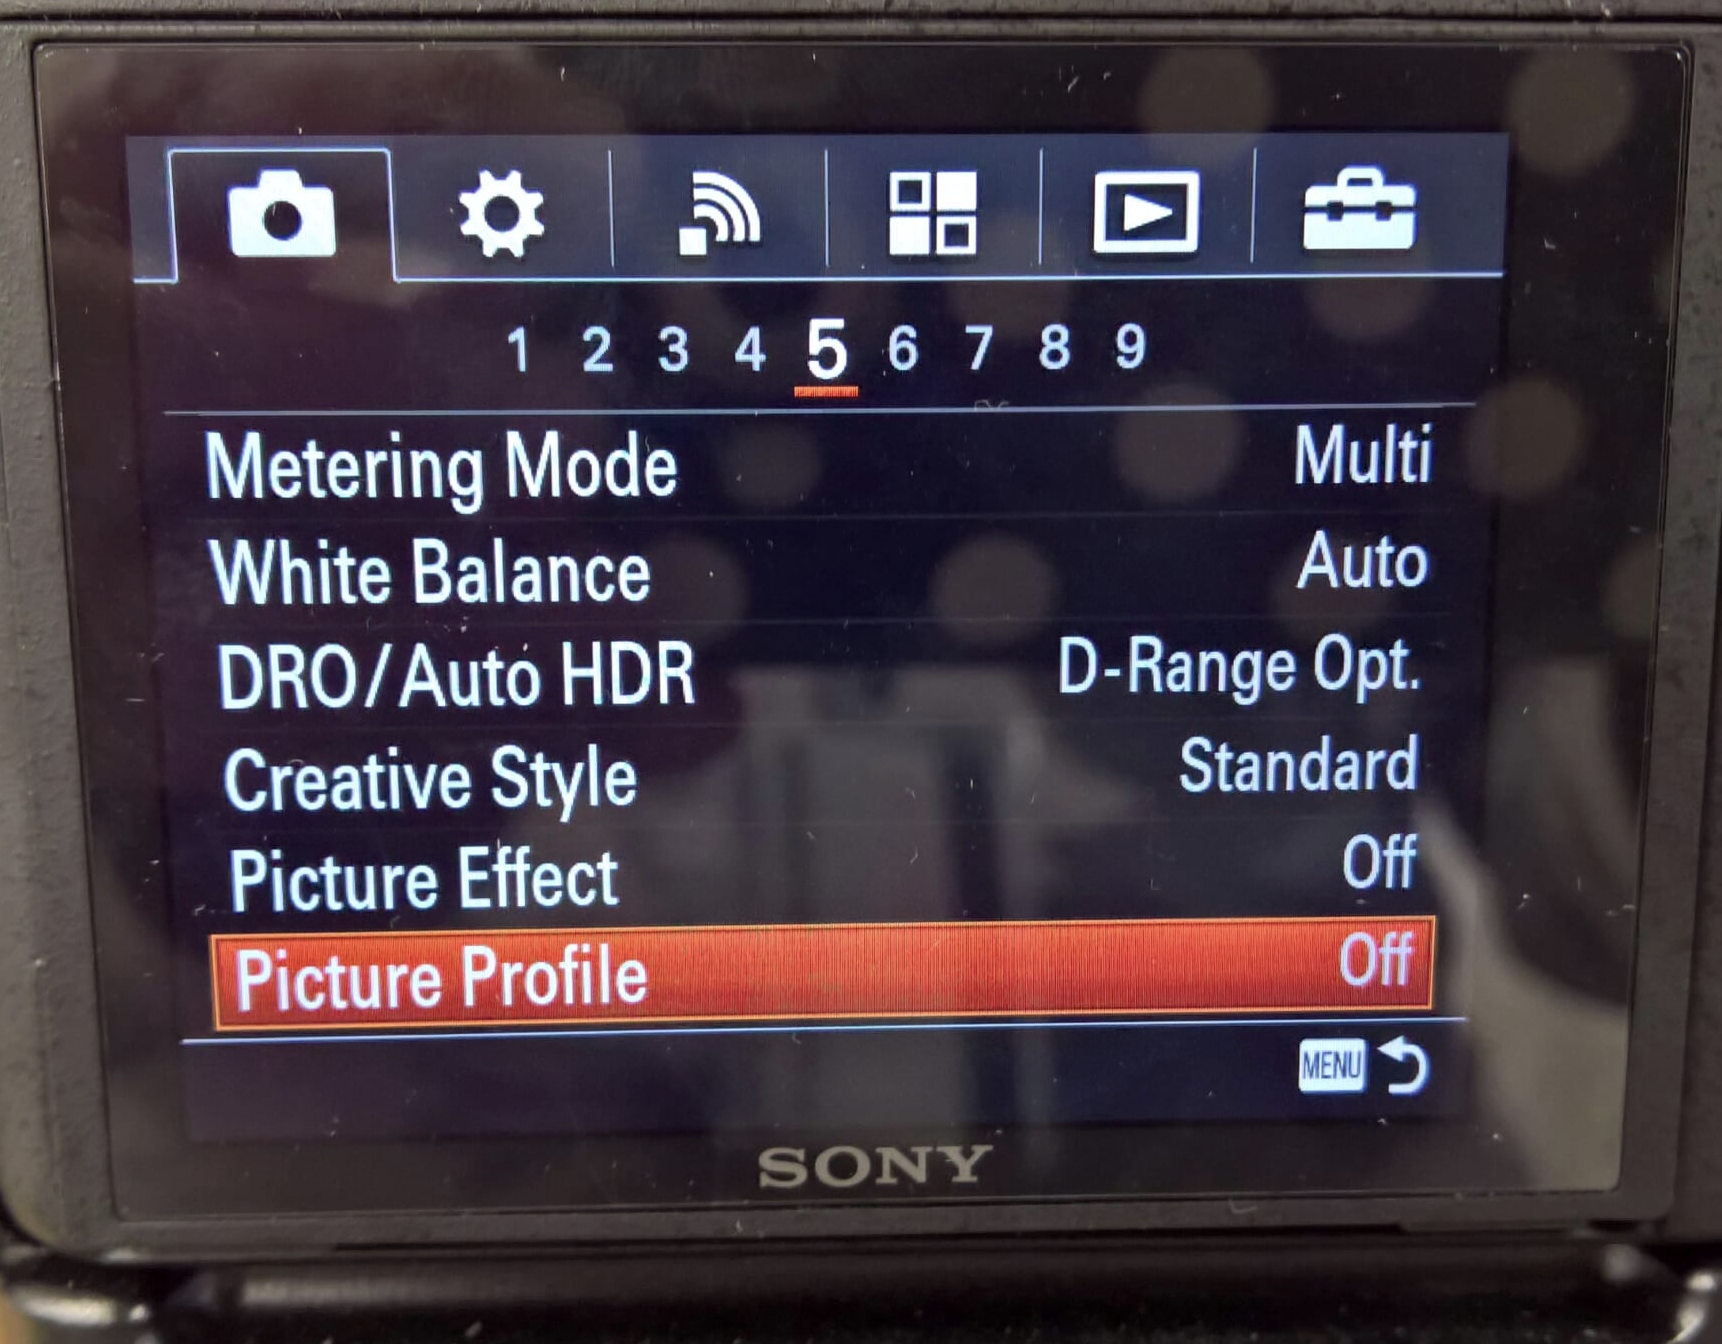
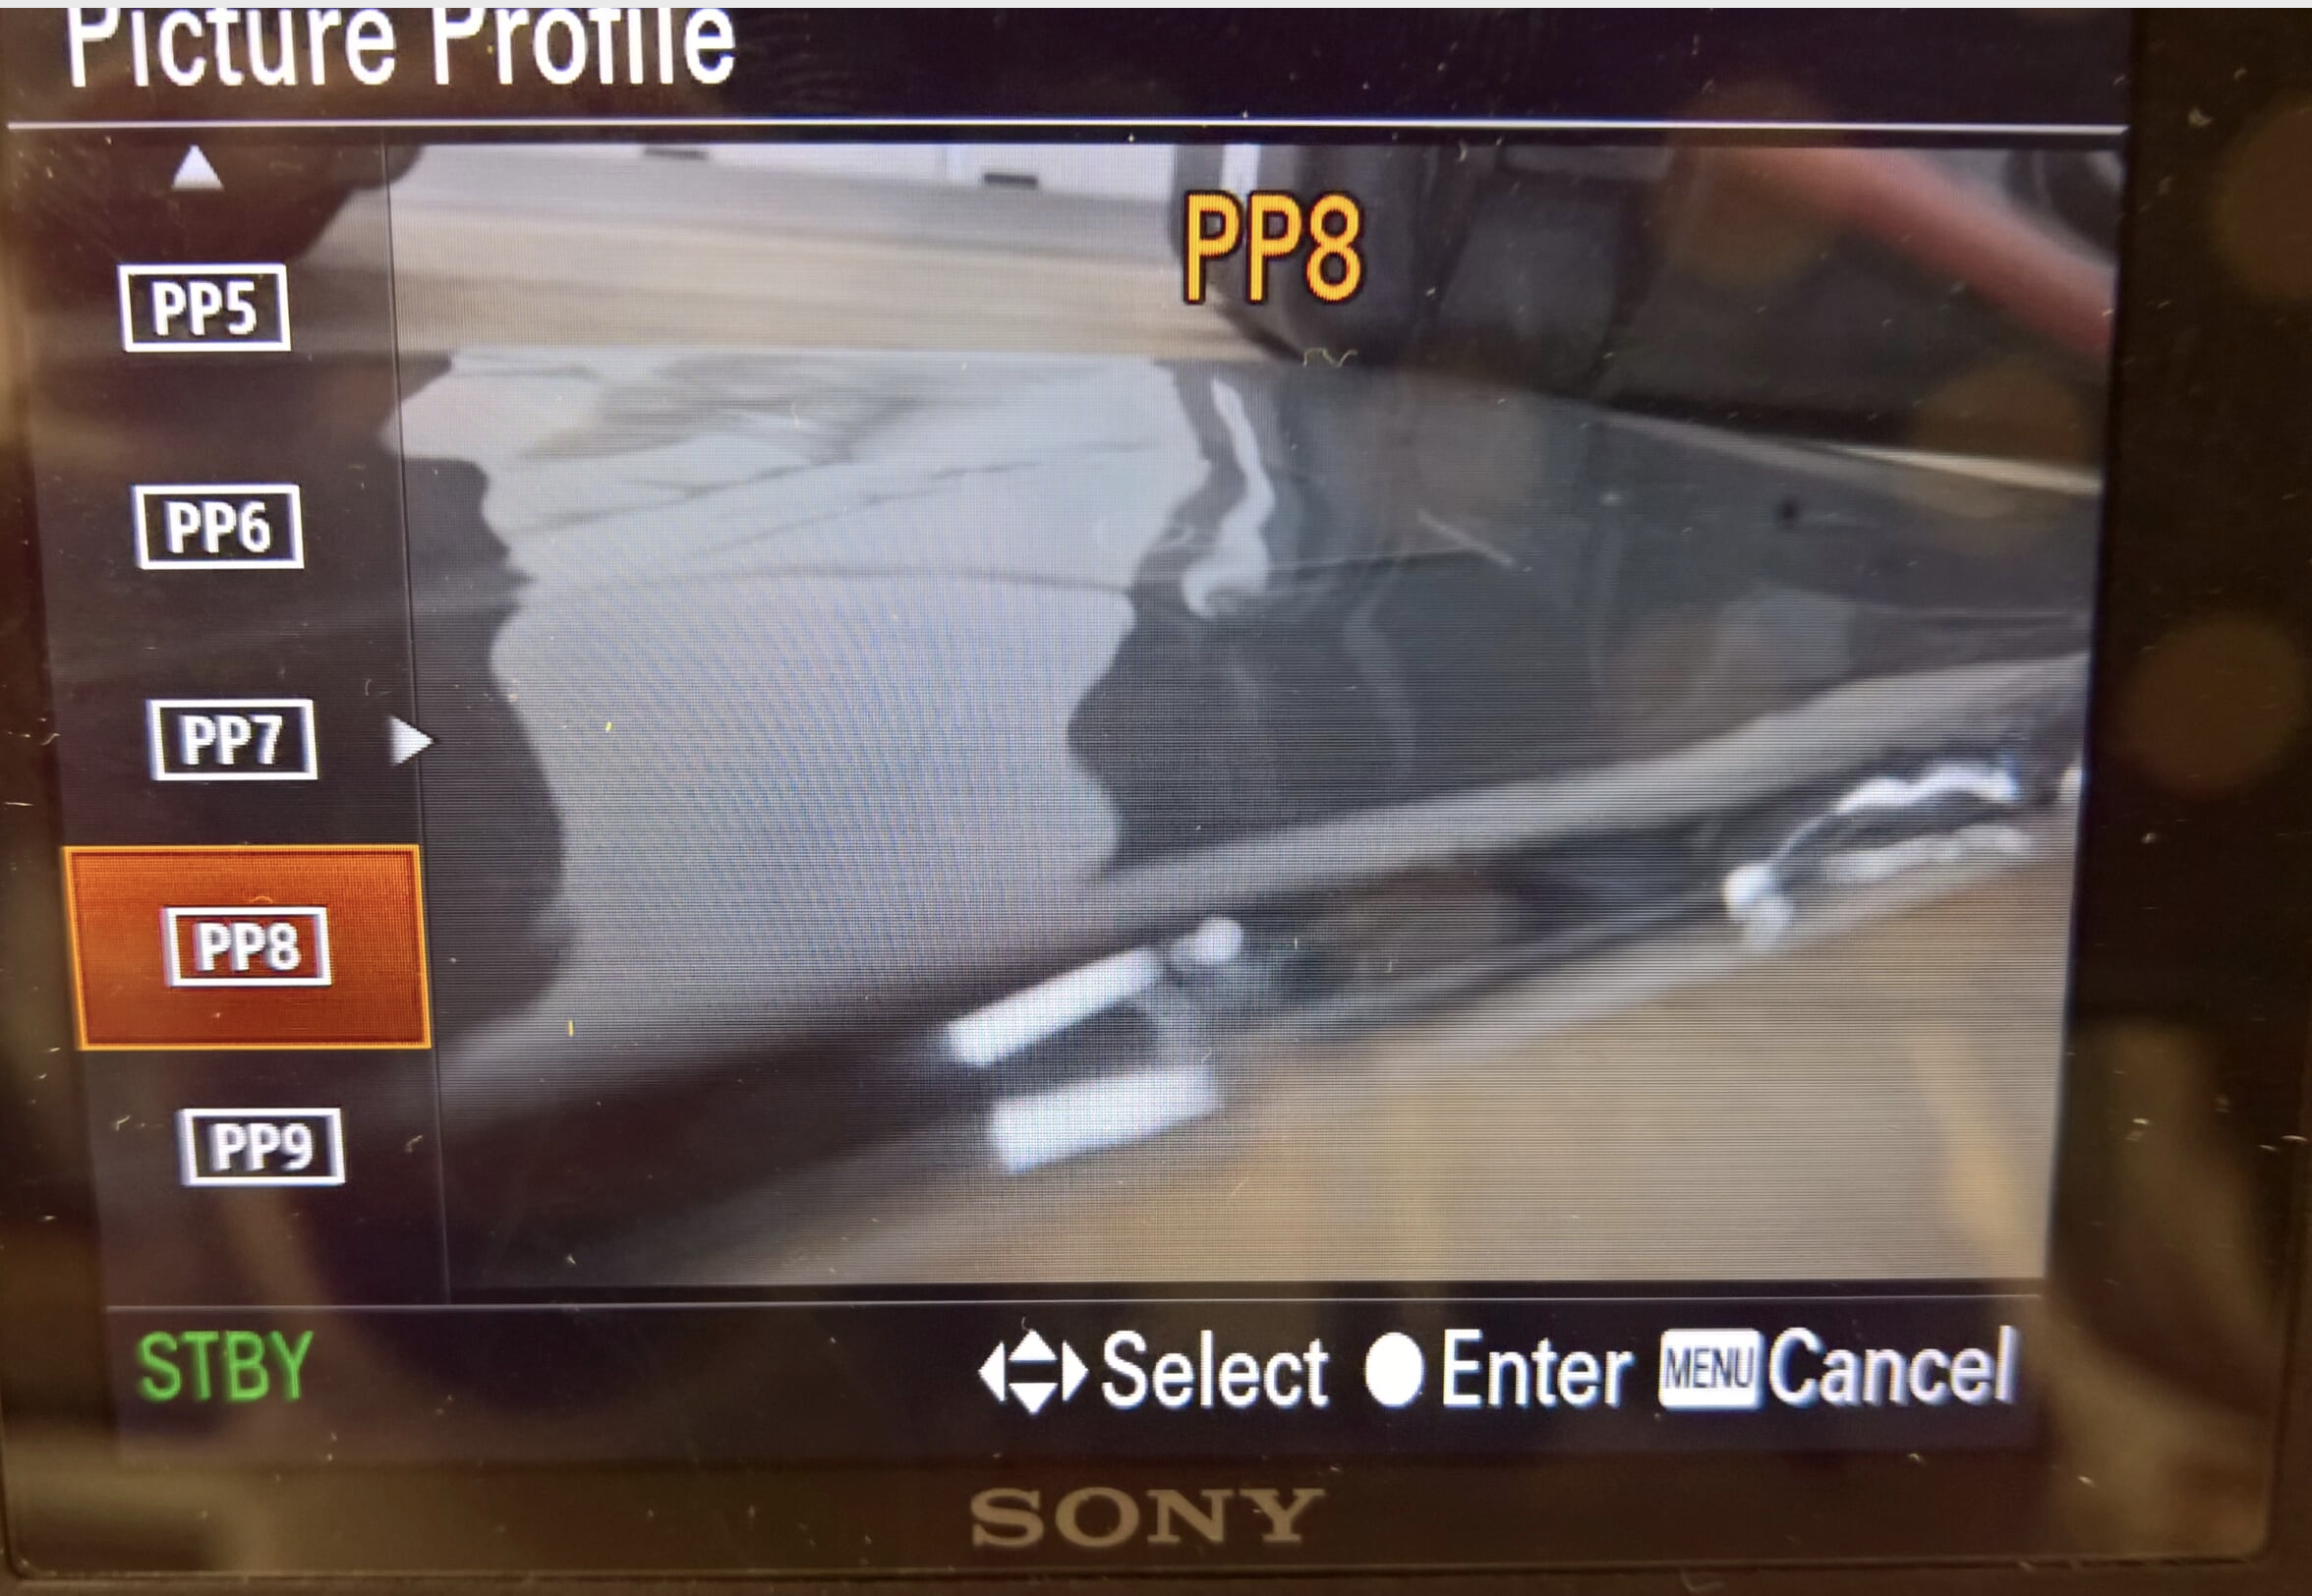
If you want to record Slog you need to set the camera profile to record Slog. Set the Camera to the Camera Icon > Menu >#5>Picture Profile |
|
Choose PP7 for Slog2 and PP8 for Slog3 Here we chose Slog 3 PP8 |
|
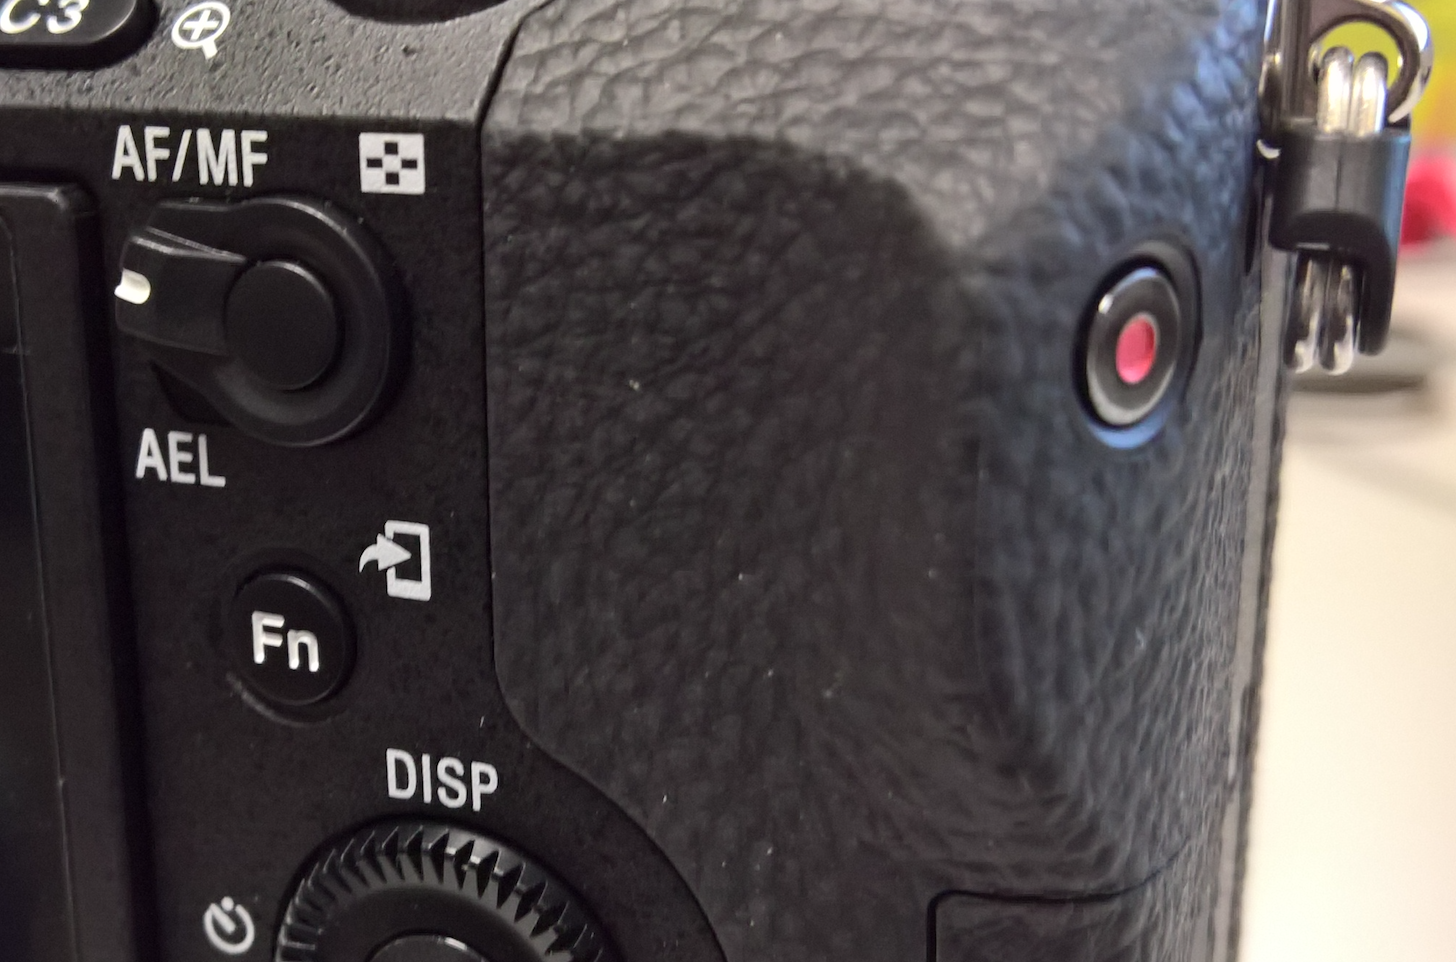
Test the camera recording. When you hit record button on the camera. Record a test and make sure that all the files you test look like you expect!Do this before you take the camera out on set! |
|
Last Note - Advanced Slow Motion workflow You need to put the camera in HD mode not 4K Next go to the "Camera" icon Menu Tab and choose page #2 of that menu Choose File Format |
|
Choose XAVC S HD format |
|
Then on "Camera" icon Menu Tab and choose page #2 of that menu Choose Record Setting |
|
Change to 60p 50M or for super slow motion choose 120P 110M |
|
Change to 60p 50M or for super slow motion choose 120P 110M |
|
You will have to play the file recorded at 60p and or 120p at 23.98 inthe editor to achieve the slow motion effect. | AVID Workflow Premiere Workflow DaVinci Workflow |


Overview
Content Tools