Page History
Open Resolve.
(we're using version 12.5) |  |
| Click the New Project button |  |
Name your project.
(Hint: whatever name you use here, Avid will recognize in the media tool later. Some editors name it the same as their Avid project name to simplify matters.) | 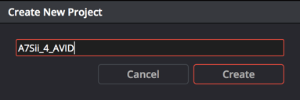 |
| Double click on the project icon. |  |
| Navigate to your 4K clips from your A7Sii, that you copied to your hard drive or share. |  |
Select all the clips you want to transcode into Avid media. (This is usually all the clips) | 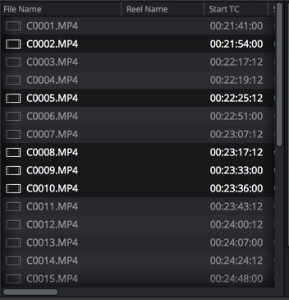 |
Either right click and choose "Add into Media Pool" or drag the clips into the media pool |  |
| Click the EDIT button at the bottom of the interface. |  |
| Press Command + N to make a new timeline. |  |
Uncheck "Empty Timeline" This will make a timeline with all of your clips from the media pool. Click "Create" |  |
| Click the "Deliver" button at the bottom of the interface. |  |
| Choose AVID AAF from the render settings. You may have to scroll to the right to find it. |  |
Browse to a location you want your MXF files to live in.
|  |
Do NOT choose "Same As Source" for the Channels drop down. (your audio will come out as static)
Make sure to choose 2 for the Channels drop down. |   |
To make it easy on yourself, you'll want to browse to a location that AVID will immediately understand. For example, if you're media is on an external drive browse to: YOUR_DRIVE/Avid MediaFiles/MXF/1 BUT If you're on editshare... | |
...or ISIS, then you need to know the computer name of the computer your working on under System Preferences>Sharing The name of my computer in this example is COMM858903 |  |
then you'll browse to YOUR_SHARE/Avid MediaFiles/MXF/THE_NAME_OF_YOUR_COMPUTER in the pic above that would be: YOUR_SHARE/Avid MediaFiles/MXF/COMM858903 or it might be YOUR_SHARE/Avid MediaFiles/MXF/COMM858903.1 |  |
Choose a codec that best suits your needs. If you want to finish in AVID and want 4K choose a DNxHR format. |  |
| Choose to render at source resolution |  |
| Click Add to Render Queue |  |
| In the upper right of the interface, you should see the job added. |  |
| Click "Start Render" | |
Get some coffee. You may want to open an empty Word document to keep the computer from logging off if you plan on walking away for a while. |  |
| Hopefully when you come back, Resolve looks like this. |  |
Close Resolve, Save if you plan on finishing in Resolve (but honestly, that's another wiki). See this wiki to see how to save a Resolve Project DaVinci Resolve - How to Relink Offline Media from a Exported Project | |
Open Avid. (we're on Media Comoser 8.6.1 in this wiki) |  |
If you name your Avid Project the same as your Resolve Project, media management will be easier for you. Choose UHD 23.976 Click OK and click OK to open the project. |  |
| Go To Tools > Media Tool |  |
Choose the drive where you saved the Resolve files (for us it was the ISIS) Choose the Project name you gave in Resolve (which should be the same as Avid because you like to work smart) click Master Clips click OK |  |
| You should see your clips in the media tool |  |
| They will be associated with the project name you gave in Resolve. |  |
If they are not there, you may need to delete some data base files, or you saved them in the wrong spot. (you'll want to get the proctor for this) | |
| Drag the clips from the media tool into a bin in your project and start editing. | 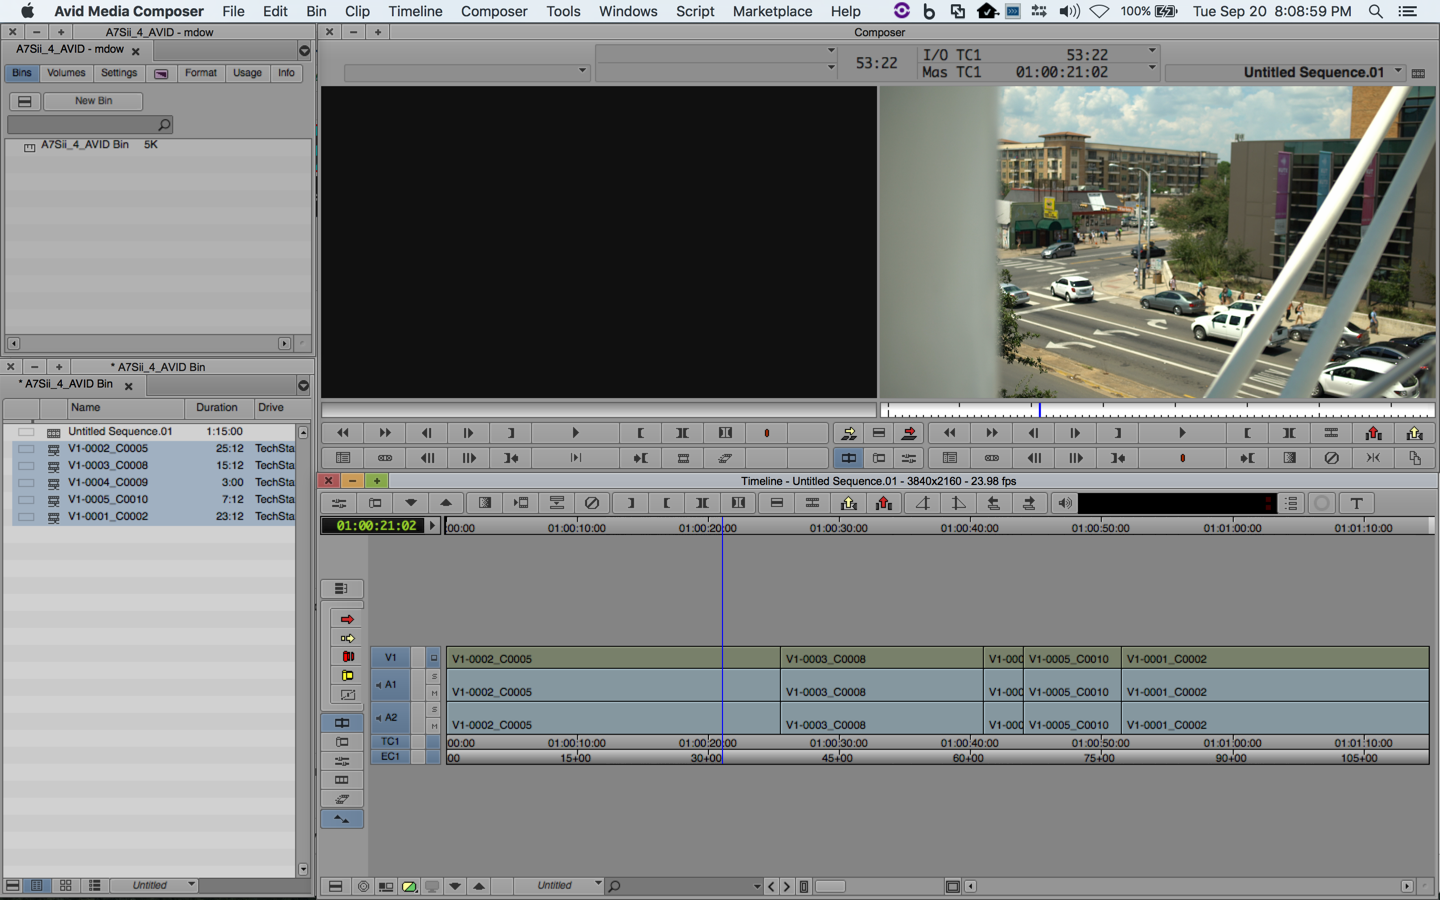 |
Overview
Content Tools