Page History
This WIKI will troubleshoot getting the Video and Audio Interface to display image on the monitorand audio through the speakers
First Quit all applications and |
|
Disconnect the Thunderbolt cable that is going into the cable run under the desk. This connects to our Blackmagic Designs Input and Output box. We are power cycling the box by unplugging the cable. |
|
Plug the cable back into the thunderbolt connection on the MacPro |
|
Turn on the Mac Pro with the Power button |
|
Next go to >Apple>System Prefs |
|
| Click on the Displays icon to open the pref |  |
From the Color Tab, scroll through the Display profile settings and choose EIZO 4K Calibrated CG318 by left-clicking on its name
Click the back arrow at the top of the window to return to the main page of your System Preferences. |  |
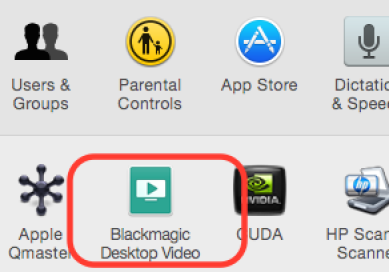
Go to Blackmagic Design Desktop Video pref and double click it to open |
|
Should see Desktop Video Utility - Artist DNxIO |
|
Click on the Audio Tab Make sure it is set to XLR |  |
1080 Video Settings | 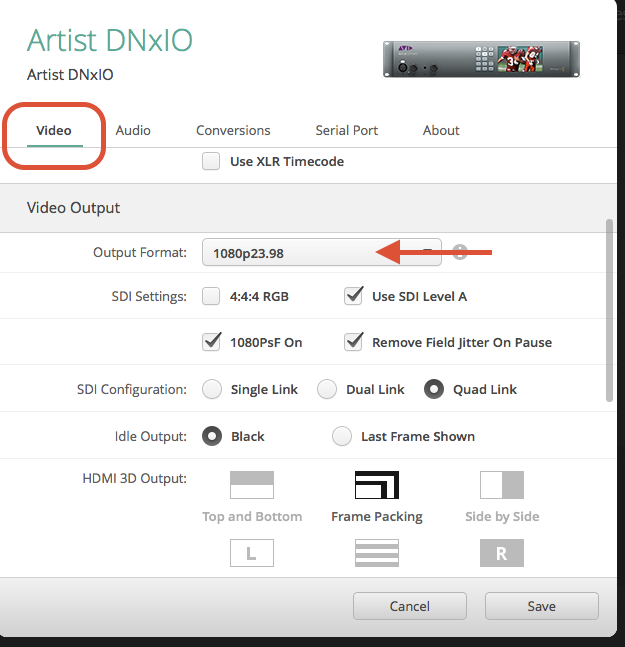 |
| 2K Video Settings Output format Select this and choose 1080p23.98 DCI 2K from the Dropdown UNCheck 1080Psf On Click on Save | 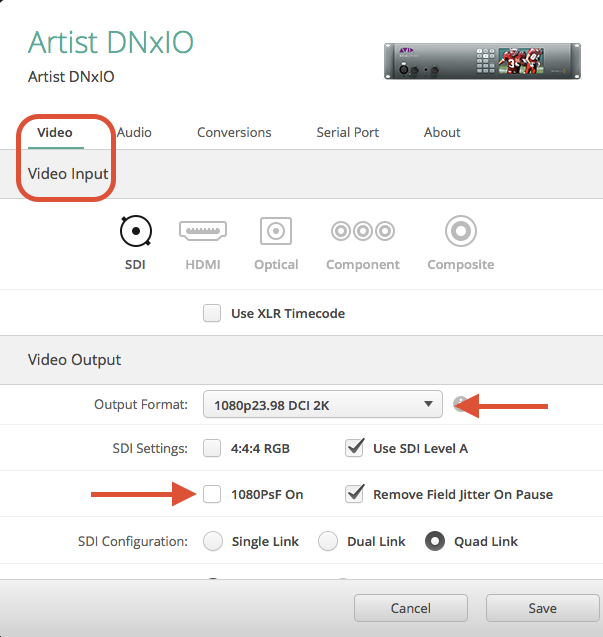 |
4K Video Settings |  |
4K Video Settings
|  |
Quit the Blackmagic Utility |
|
Set the Monitoring for the Desktop Display on the desk Go To Davinci Resolve Preferences |
|
| Make sure that Use Mac Display Color Profiles for Viewers is unchecked |
|
| Setup for Davinci Resolve>Go to your project settings in the lower left corner of the application |  |
| Choose 4096 x 2160 for F5 or similar 4K footage for timeline Format and Video Monitoring |  |
| Choose 2048 x 1152 for Alexa or F5 or similar 2K footage for timeline Format and Video Monitoring |  |
Turn On TV by pressing the Monitor button on the Sony Remote on top of the AVID Artist DNxIO |
|
The 4K Sony TV will turn green when it is fully on but the remote won't change at all. So don't keep hitting the Monitor On/Off button!!
|  |
*In all instances, you will always be working in the Input Setting #1. This is the calibrated setting for this monitor! |  |
Open AVID
|
|
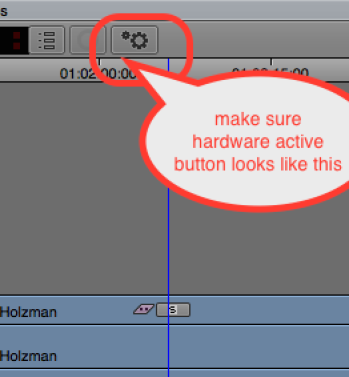
There is a button on the timeline that sometimes gets turned off make sure the Hardware Active Button is on in AVID |
|
For Adobe Premiere Users: Open Premiere > Set Playback settings by going to Premiere Pro CC > Preferences > Playback
|  |
Click on Playback>Audio Device Blackmagic Playback
Video Device Blackmagic Playback
Click OK |  |
Audio Monitoring make sure all the buttons shown here are pressed. |
|
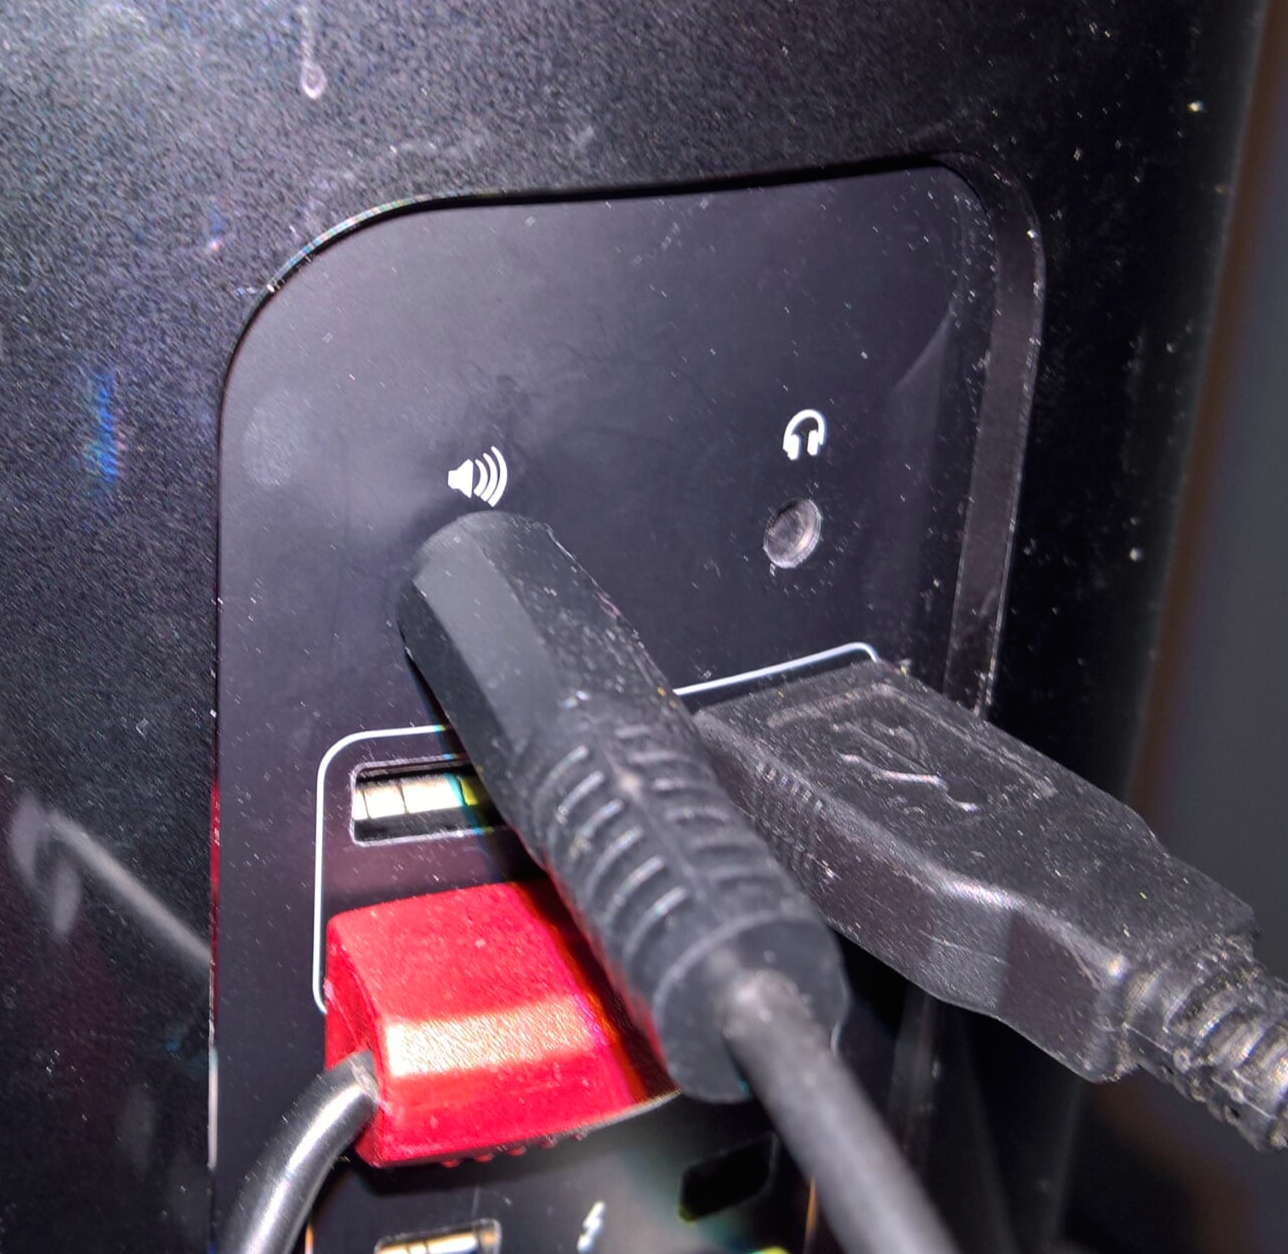
Note if you wanna hear computer audio not through AVID or Resolve then choose System Prefs. > Line Out
Make sure the mini plug is plugged into the LIne Out
|  |


Overview
Content Tools