Page History
Log into your Google Account and click on YouTube |
| ||
Choose the Camera >Upload Video Icon in the upper right corner |
| ||
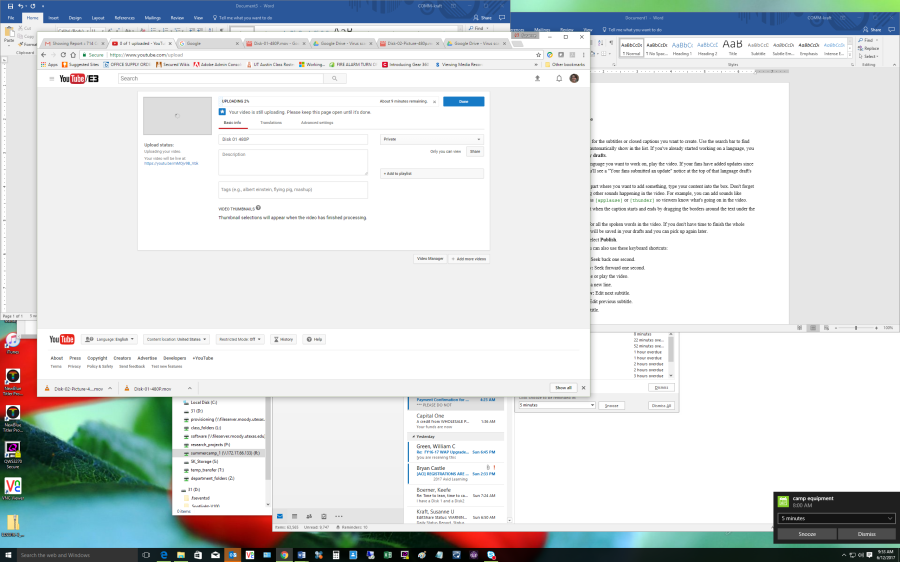
Navigate to the file you want to upload Your videos will be private until you publish them |
| ||
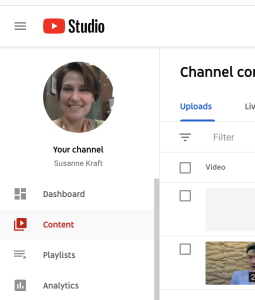
Files will upload and take you to the Content Menu |
| ||
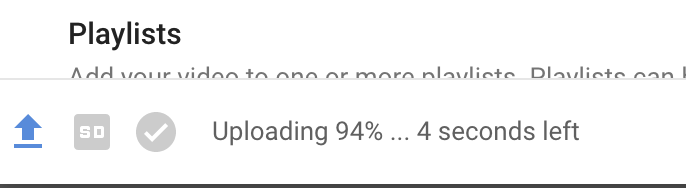
| The file will start uploading and |
| ||
| Processing after it uploads |
| Uploading progress window will tell you the percentage of the upload that is finished. | |
You can click on "Done" |
| ||
Click on Publish to publish the video as soon as it's done processing. That is what Internet Explorer asked me to do |
| ||
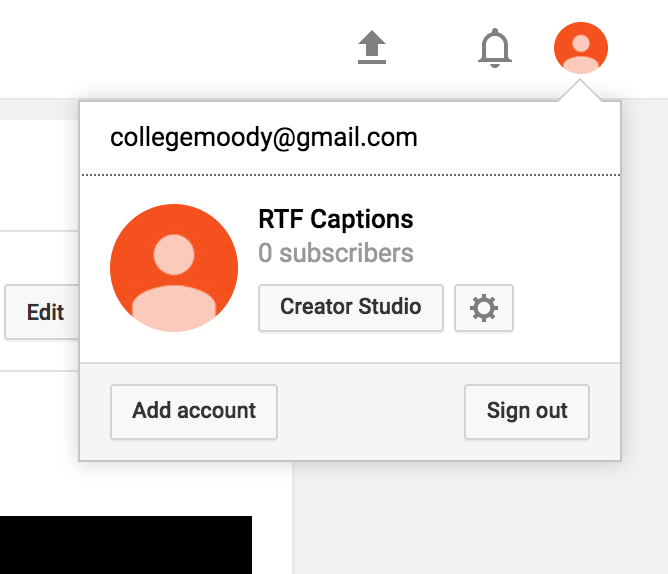
To work on the videos click on the user account and choose "Creator Studio" |
| ||
Click on Video Manager |
| ||
Click on the video that just uploaded |
| ||
Set Video language to English. |
| ||
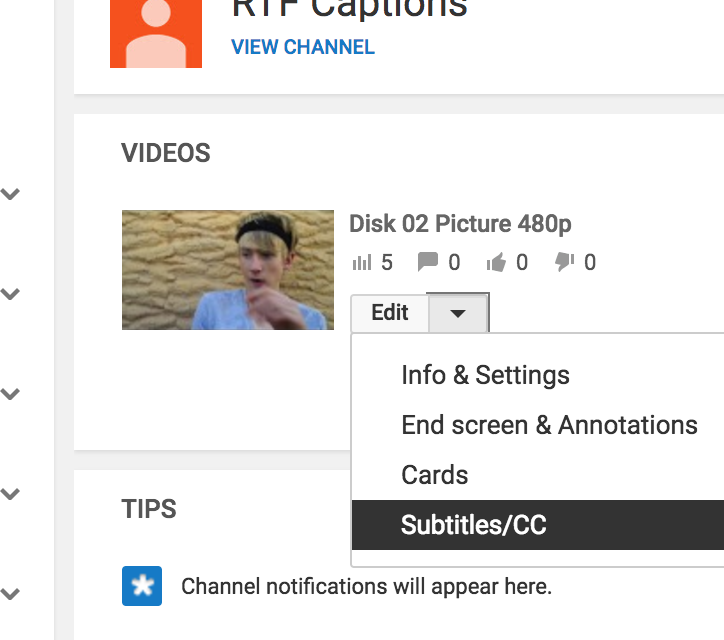
Add new subtitles or CC |
| ||
Eventually the file will auto caption and show the files as "English (Automatic) click on the English (Automatic) button |
| ||
Click "Edit" to start polishing up the credits that YouTube created |
| ||
Scroll to the point in the timeline where you are going to fix the caption. Type in the caption in the box shown here. |  | ||
| Just change the caption and then click on the next one and it saves the change |  | ||
Here are the Keyboard Shortcuts |
| ||
| Click on "Save Changes" to save the captioned file |  |


Overview
Content Tools