Page History
Create a project that matches the aspect ratio and frame rate Choose where to save by clicking on the folder Choose 4K 4096 x 2160 Choose 60P Create
|
|
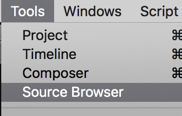
Go to >Tools>Source Browser |
|
Navigate to the folder you backed up your card data and click on Link |
|
Select the clips and choose > Clip>Consolidate/Transcode |
|
Then select where you want to save the consolidated files and choose the “Target Video Resolution” We recommend DNxHR LB MXF Then Choose Transcode | |
Choose >Input >Import Media Navigate to the sound file and choose import |  |
| Navigate to the sound files and choose Open |
|
| choose 60 NDF and OK to all to import all sound files | |
Edit with the master clip not the linked file |  |
Load the transcoded clip in the source window Mark the whole clip and edit that into a new timeline |
|
| Make a new timeline and choose the RED overwrite button making a video only edit |
|
Next go to >Effect Palette >Timewarp>Timewarp effect drag that to the timeline and put on the video clip |
|
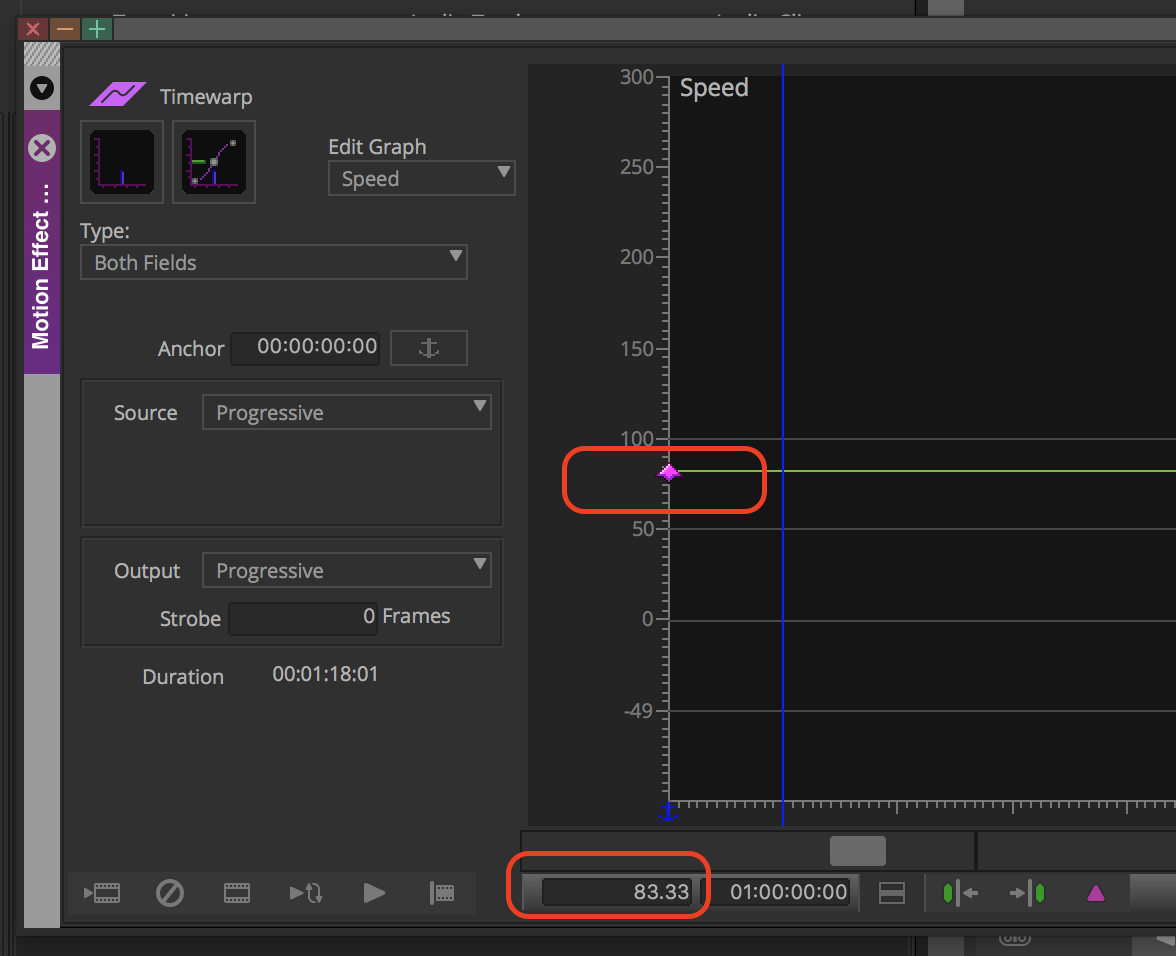
| Then go to >Tools>Motion Effect Editor |  |
| Change the setting to 83.33 to slow the video down |
|
On the timeline mark an in point at the clap |
|
Load the sound file into the source window You won't see any waveforms but it is really helpful if you could!! Well you can't the most we can do is see the waveforms in the timeline. . . . . |
|
To see Audio Waveforms in the timeline click on this button and turn it GREEN
|
|
Then turn on waveforms in the timeline Click on the timeline "hamburger menu" then >Audio Data>Waveform |
|
You will see the audio waveforms in the timeline now!! To enlarge the timeline use the following combo of keys "command L" to enlarge "command K" to make smaller |
|
Turn on "Caps Lock" to scrub audio but you will see the slate strike in the timeline scrub your timeline indicator till you hear it click loudly using your arrow keys |
|
| Mark and "In Point" on the audio file |
|
| Then edit that into the timeline so that the clap on the video matches the clap on the audio | |
| Then audio and video are in sync in the timeline. |  |
Then you need to use the sequences like clips You can drag sequences to the source window and use them like clips to edit into another timeline. |
|


Overview
Content Tools