Page History
If you'd like to watch a Lynda.com video on creating pan and zoom effects with keyframes, sign onto your UT Lynda Portal and navigate to this Keyframe Segment Effects tutorial.
In your timeline |
|
Dummy video we are going to cover with our "Pan and Scan" |
|
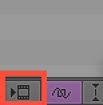
In the Composer window On the left side click Effects Go into "Effect Mode" | 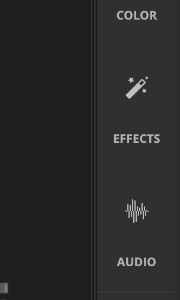 |
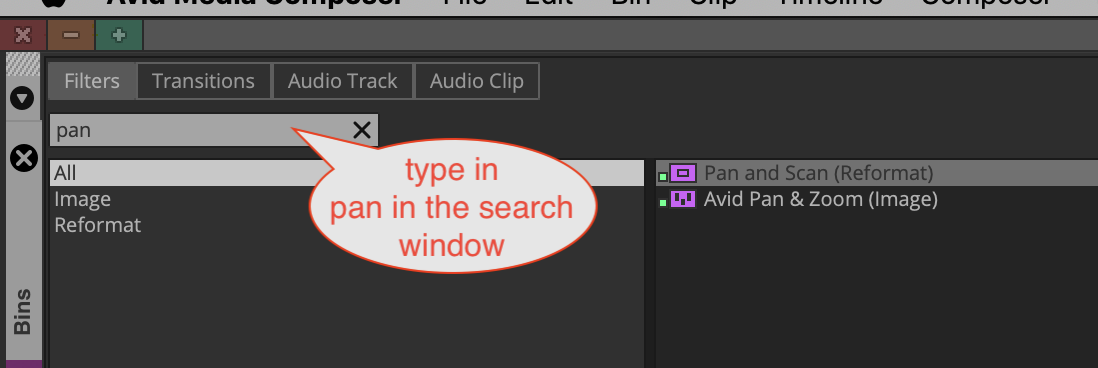
| In the effects search window type in Pan for AVID Pan and Zoom Image |
|
| Locate the Pan and Zoom effect and drag it to the segment of the timeline you want to add the pan and zoom effect |
|
Click on Import Image |
|
Navigate to the folder where your image is stored and select the "Still Image" you want to put the pan and zoom moves on. |  |
Go to the beginning of the clip and add a keyframe by clicking the add keyframe icon "pink triangle" | 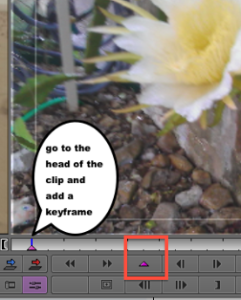  |
Go to the end of the clip while still in "Effect Mode" and add an end keyframe |
|
Go to the head of the effect and click on the first keyframe to make it active or "pink" |
|
Choose to "Display:Target" |
|
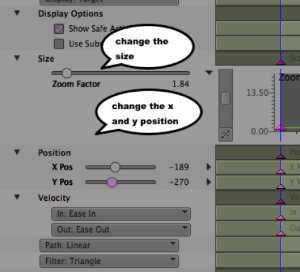
Change the size of the image to your liking |
|
Once you have the starting position then go to the "End" keyframe and adjust it as well so that the image ends in the appropriate position. |
|
|
|
Make sure that you have the source set to RGB Levels |
|
Play the effect by clicking on the "Play Loop" button |
|
Render the effect – click on the render effect icon |
|


...
Overview
Content Tools