Page History
...
The go to the Deliver tab | |
| Choose to Render the Entire Timeline | |
Click on Render Settings> and use the slider to navigate to the AVID AAF tab | |
Click on Browse to select the hard drive and folder you want to render to | |
| Navigate to the hard drive and you can choose to Add a new folder if needed | |
| Name your new folder and click OK | |
| Make sure you select the newly created folder and click OK | |
Choose Video Format MXF OP-Atom
Codec DNxHD 1080p 36 8-bit if you are doing a offline or proxy version of the media. | |
If you don't want to return to resolve and do an "Online and or Conform" then choose a codec that you can deliver for screening and distribution.
Choose Video Format MXF OP-Atom
Codec DNxHD 1080p 220/185/175 10-bit
| |
This is the 2K 16 x 9 export setting if you are working with ARRI ALEXA footage
Please DON'T CHECK THE "RENDER AT SOURCE RESOLUTION" BOX this will mess things upif you have F5 footage and effects. | |
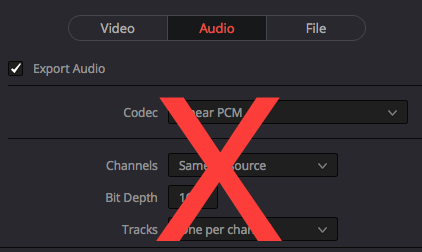
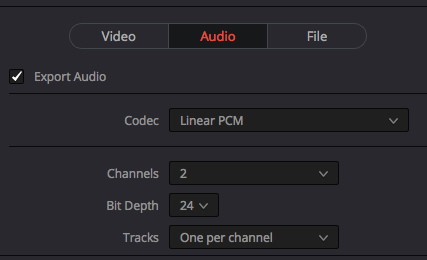
Click on the Audio tab Check the box for "Export Audio" if you want to export Audio Do NOT choose "Same As Source" for the Channels drop down. (your audio will come out as static)
Make sure to choose 2 for the Channels drop down. | |
| Click on Add to Render Queue | |
| Choose to Start Render once the Job has been added to the Render Queue | |
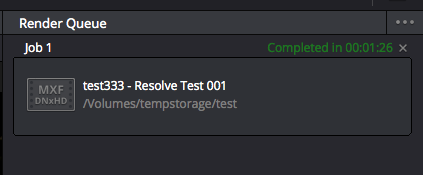
Job has completed. The files need to be added to AVID MediFiles Folder
Quit Resolve>Save the project. Make a backup of the project and save it for the final color correction and conform. See this workflow for making a backup. | |
Job has completed. The files need to be added to AVID MediFiles Folder
Quit Resolve>Save the project. Make a backup of the project and save it for the final color correction and conform. See this workflow for making a backup. | |
Put the Color Corrected files from Resolve into your AVID Project.
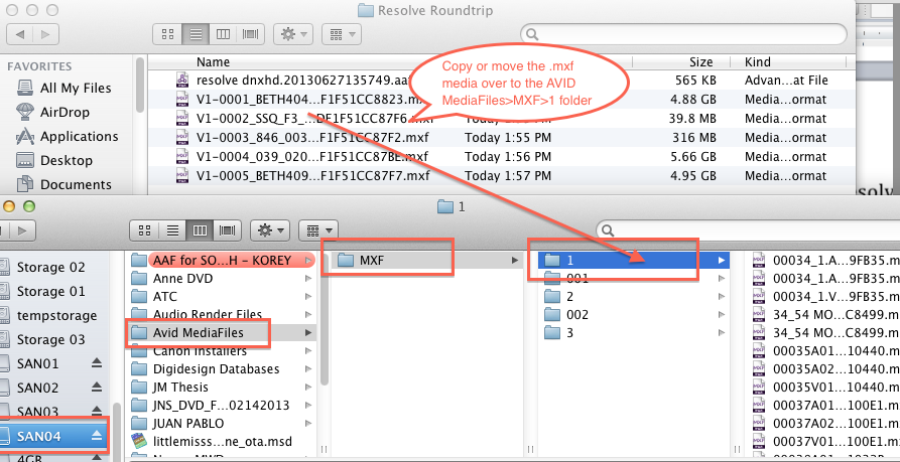
Open the exported Resolve files. There will be ONE .aaf file and several .mxf files.
This example is short - most projects will have a lot more .mxf files.
AVID reads media from the Avid MediaFiles folder on the root level of the hard drive. The .mxf files exported from Davinci Resolve must be moved to this folder. See example below.
Copy or Move the .mxf files to the AVID MediaFiles>MXF>1 folder.
After the files are moved to the Avid MediaFiles >MXF>1 folder on the hard drive open the AVID Project or make a new one.
...


