Page History
The unit comes with 2 SSD Cards that hold 512 Gigs of data each |
|
Load them into the Gemini by flipping down the metal doors in the back of the unit and sliding the cards in. They only go one way so don't force them. Insert them with the sata connection towards the unit and the labeling facing up. |
|
Power connections for the Gemini |
|
When the unit powers on you will see both green lights signaling both SSD cards are being accessed |
|
Next step is to format the SSD cards. |
|
Click on "Gemini" SSD's > Format Both – OK |
|
Next go to the "Setup" menu and set that to >Project>Frame Rate> Follows Input |
|
Set the Gemini to start recording when the camera starts recording. |
|
Plug in the SDI 1 and SDI 2 Out of the F5 into the SDI A and B Input on the Gemini |
|
SDI A and B Input on the Gemini |
|
SDI 3 which has the camera menu overlays plug into the monitor input |
|
Turn on the Sony F5 using the on switch |
|
Use the knob to Navigate through the menus and press the knob to select the menu item |
|
Go to System Menu |
|
Reset the camera to defaults |
|
Scroll down to All Reset and choose Reset |
|
Go to System > Record Format> HD |
|
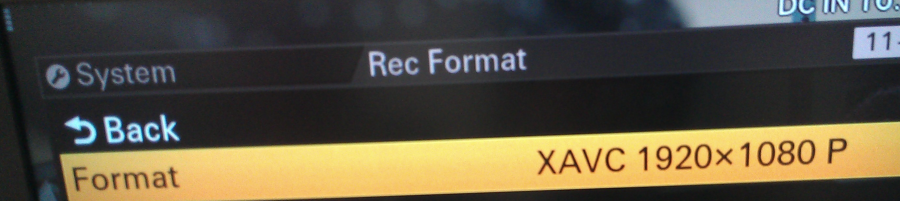
Select the Record Format |
|
These are the choices>you can only choose the XAVC 1920x1080 because the Gemini does not work with the XAVC 2048 x 1080 you have to use the SXS Pro cards or the sony external recorder to record these formats |
|
Use these Sony SXS Pro cards to record 2048 x 1080 2K footage |
|
Choose the basic HD XAVC 1920 x 1080P setting |
|
Next got to |
|
On the Gemini select the >Record>Trigger> Camera to place the Gemini in the "Camera Control" mode |
|
Note on the Gemini that the unit shows that the recording will be controlled by the camera |
|
Currently the camera is set to YPbPr. The Gemini will see a 1080PSF 23.98 4:2:2 signal |
|
Go to >System>Base Setting>Main Operation>Change the setting to RGB |
|
Confirm the changes by choosing Execute |
|
Double check to make sure to set the color space |
|
Go to >Color Space>S-Gammut/Slog2 |
|
The Gemini now auto detects the 1080PSF signal to be 4:4:4 1080PSF 23.98 |
|
To check the Input status to make sure we are recording dual link click on the soft key 1080PSF 23.98 |
|
The Input Status should read SDI A: 1080PSF 23.98 4:4:4 |
|
Now set to record press record on the Sony F5 camera and it will begin recording on Gemini too |
|
Gemini in Record mode |
|
Press the SSD Save Eject and Eject the 1 and 2 cards |
|
The only way to turn off is to unplug the unit |
|
Remove the cards and load them into the USB card reader in the Gemini Kit |
|
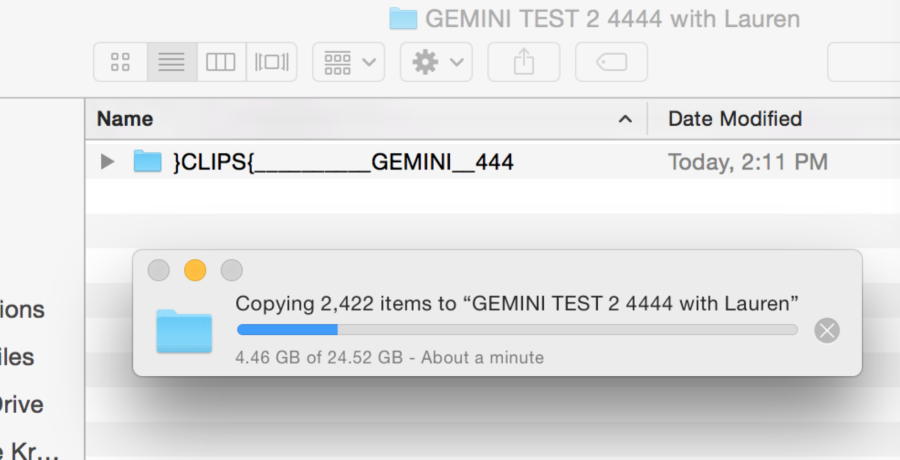
Now we need to load the files into a computer for editing |
|
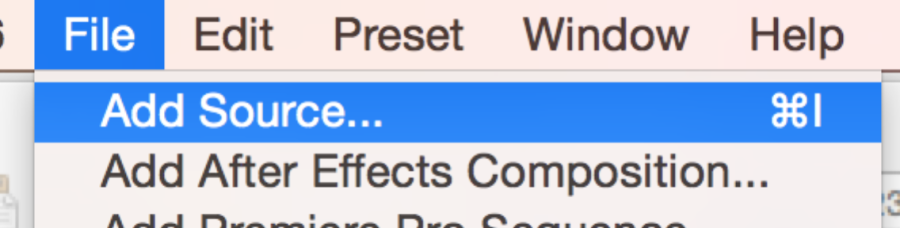
Open Adobe Media Encoder |
|
Go to File>Add Source |
|
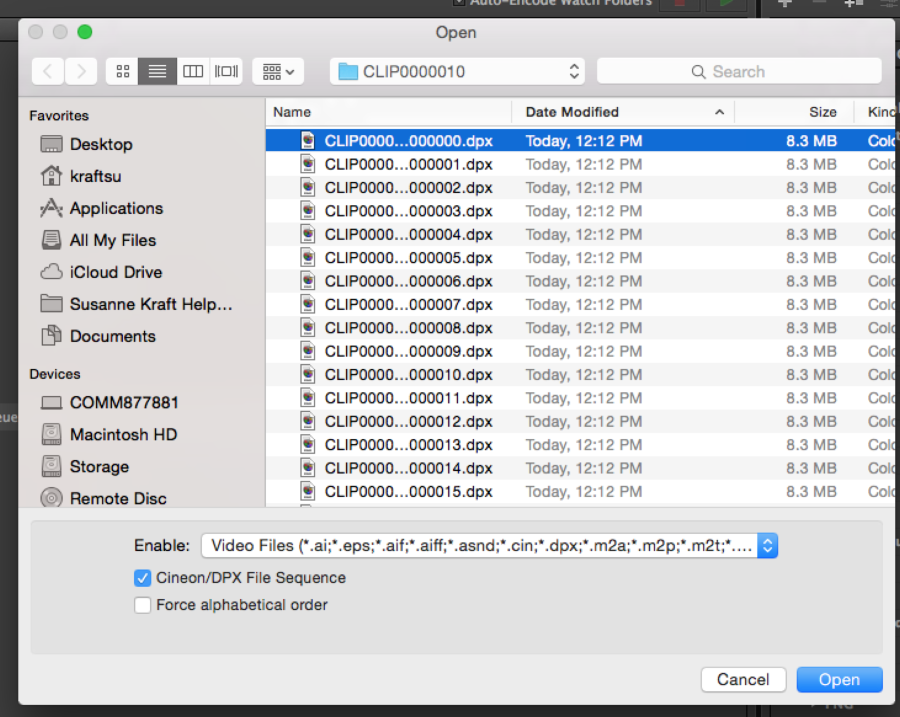
Make sure the Cineon/DPX File Sequence is checked and then navigate to the firs file of the folder with the lowest number |
|
Change the Format to QuickTime |
|
Click on the "Yellow" Preset to set the quicktime settings |
|
Choose the following: |
|
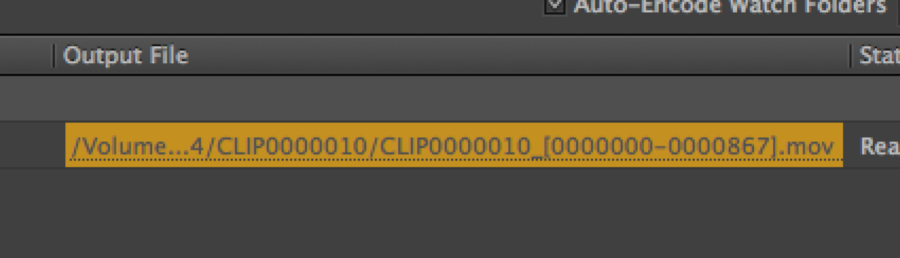
Click on Output File |
|
|
|
Click the green arrow to start the encode |
|
Open AVID and create a AVID 1920 x 1080 Color Space - RGB |
|
File>Import |
|
Click on Options |
|
Choose Image sized for current format |
|
Choose the file and the resolution as Apple ProRes 4444 MXF and select the Storage drive as the destination for the AVID file |
|
The import will fast import the video. You should see the term Fast Import or else the image is not coming in at 10 bit 4444 |
|


Overview
Content Tools