The purpose of this wiki is to demonstrate how to export your title media in Avid Media Composer and re-purpose them into a valid SubRip (.srt) subtitle file used as a standard for many video media playback software.
The Problem: Avid Media Composer is a powerful non-linear editor which allows you to create professional audio and video content which can be exhibited via a variety of media venues. As these venues continue to evolve digitally, new deliverables types such as DCP, H.264 MP4, and auxiliary metadata are being required from the content creator. However, generating Avid metadata that can act as suitable subtitle information can be exhausting and time-consuming. Often, users mistake subtitle data with open captioning data (.stl) files using the AVX SubCap Generator Effect. Though this is extremely useful for the broadcast television and video-on-demand markets, it is not the type of file we need for video media players like VLC Media Player. VLC Media Player is often the choice for many new festivals as it can easily detect and playback SubRip (.srt) text files [ which essentially are compromised of two values: timecode and text. ]
The Solution: In just a few simple steps, we can step out of the Media Composer and use the scripting abilities in Adobe After Effects to generate a perfectly timecoded SubRip (.srt) file.
Disclaimer: You will need to utilize several sets of tools to achieve this workflow. The Moody College of Communication has already pre-installed these in many of our digital media labs. However, if working elsewhere, you will need to have administrative access in order to complete the steps in this wiki.
We will need the following:
- Avid Media Composer (version 7 and up)
- Avid Media Composer - a locked, completed Master Sequence with all rendered VIDEO and EFFECTS on Track V1 and all TITLE MEDIA on Track V2. AUDIO is typically a Dolby Stereo LtRt Downmix on Tracks A1 and A2. Don't forget to PAN those MONO audio tracks to LR!!
- Adobe After Effects (version 5.0 and up) - Click here to sign-up for a limited free trial version of Adobe Creative Cloud which includes After Effects CC
- A copy of the Text Generating AE Script - Click here to download the script
- The latest version of the VideoLAN VLC Media Player for your operating system
| 1.) In Avid Media Composer, OPEN the BIN containing your fully rendered MASTER SEQUENCE we need to export as the screening deliverable. |  |
2.) Notice how I have everything fully rendered and organized, especially in regards to my Title Media Tracks. In this instance, I have two language tracks - one for English and one for Italian. The Festival has asked me for three deliverables: 1. a textless master Quicktime movie 2. a separate English SubRip (.srt) subtitle file 3. a separate English SubRip (.srt) subtitle file I'm going to start by DUPLICATING this MASTER SEQUENCE for each deliverable |  |
| 3.) I have 4 sequences now. I will rename each one to make sense of each one of my deliverables. I'll also include numbers to chronicle the order in which I export them. |  |
| 3.) Now that I have my logic, I need to remove content from Sequences 1-3. I'll delete unnecessary tracks per the parameter of each deliverable. See below: | |
|  |
| 2. MY ENGLISH SUBTITLES |  |
| 3. MY ITALIAN SUBTITLES | 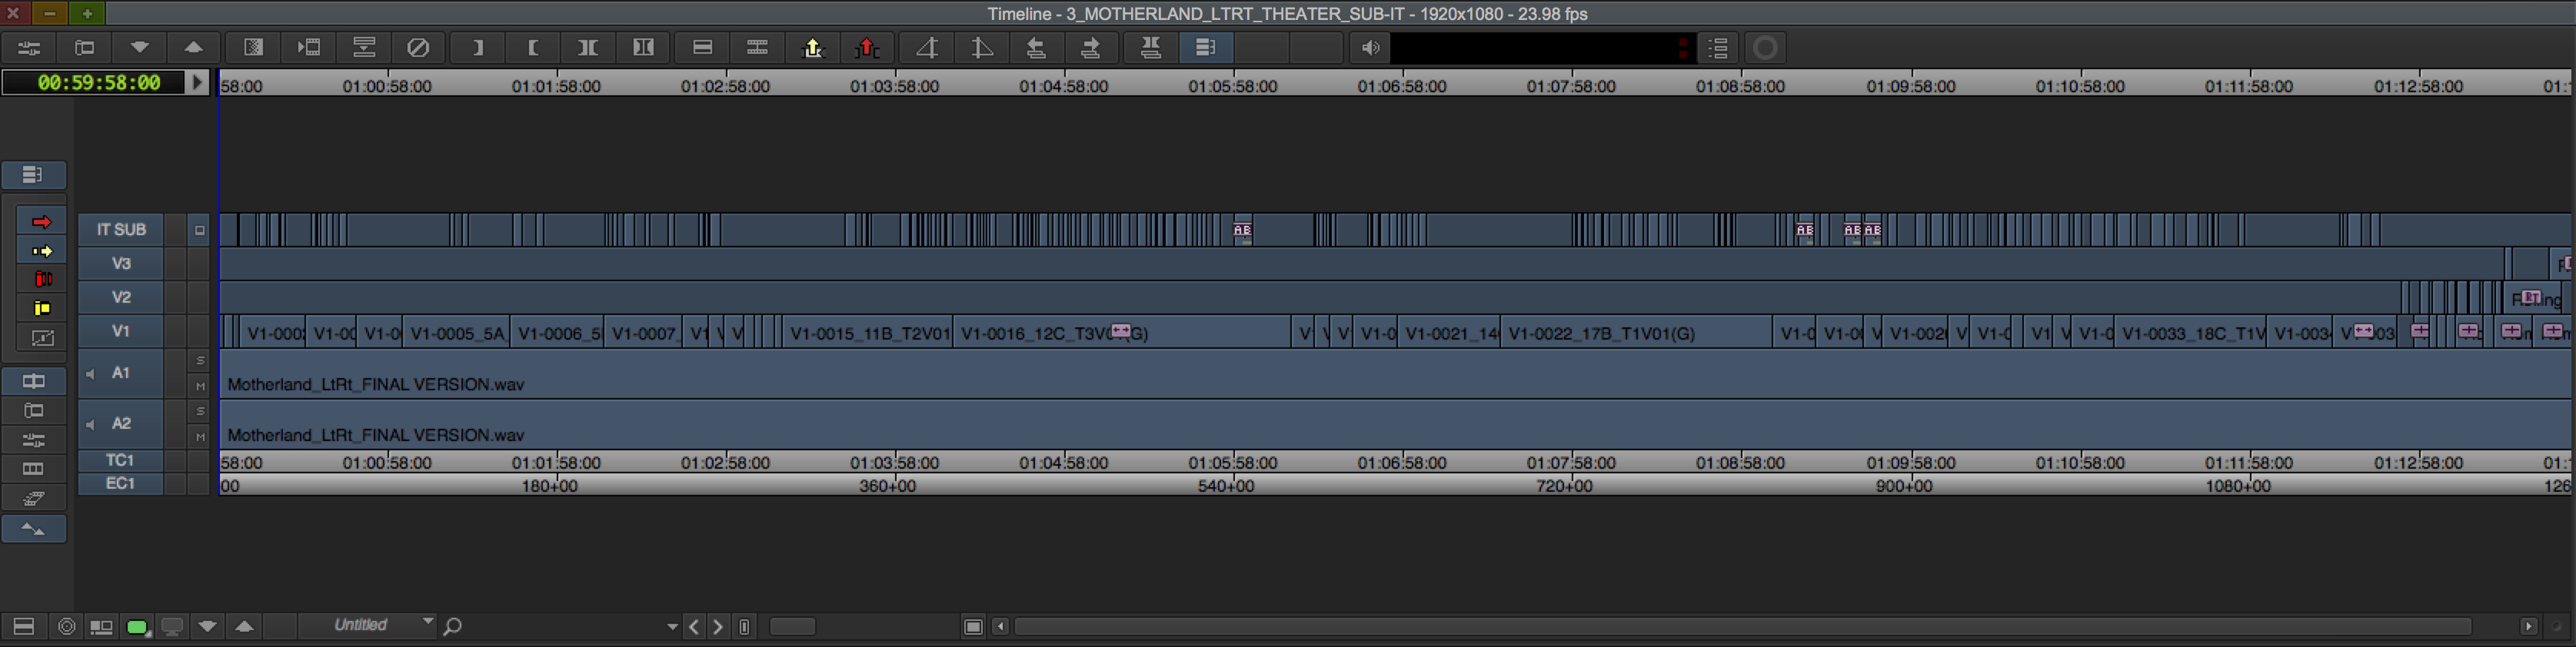 |
4.) Firstly, let's export a Master Intermediate Quicktime Movie (if you don't already have one!) Most MASTERS should be TEXTLESS. Click here to review documentation on how to export a DNxHD Quicktme Movie. *Regarding Colorspace ranges (709-Legal vs RGB-Full) contact either the Festival or the entity requesting the deliverable so they may provide you with the correct technical specifications of what they want/need! Never assume!! |  |
| 5.) Now that we have video to work with let's concentrate on EXPORTING our ENGLISH subtitle media. DUPLICATE the MASTER SEQUENCE with the ENGLISH subtitles. CREATE a NEW BIN and MOVE the DUPLICATE into the new bin. |  |
| 6.) I'll PREP the DUPLICATE SEQUENCE to only contain my ENGLISH SUBTITLE MEDIA. I'll DELETE TRACKS V1-V3 and A1-A3. | |
| BEFORE: |  |
| AFTER: | 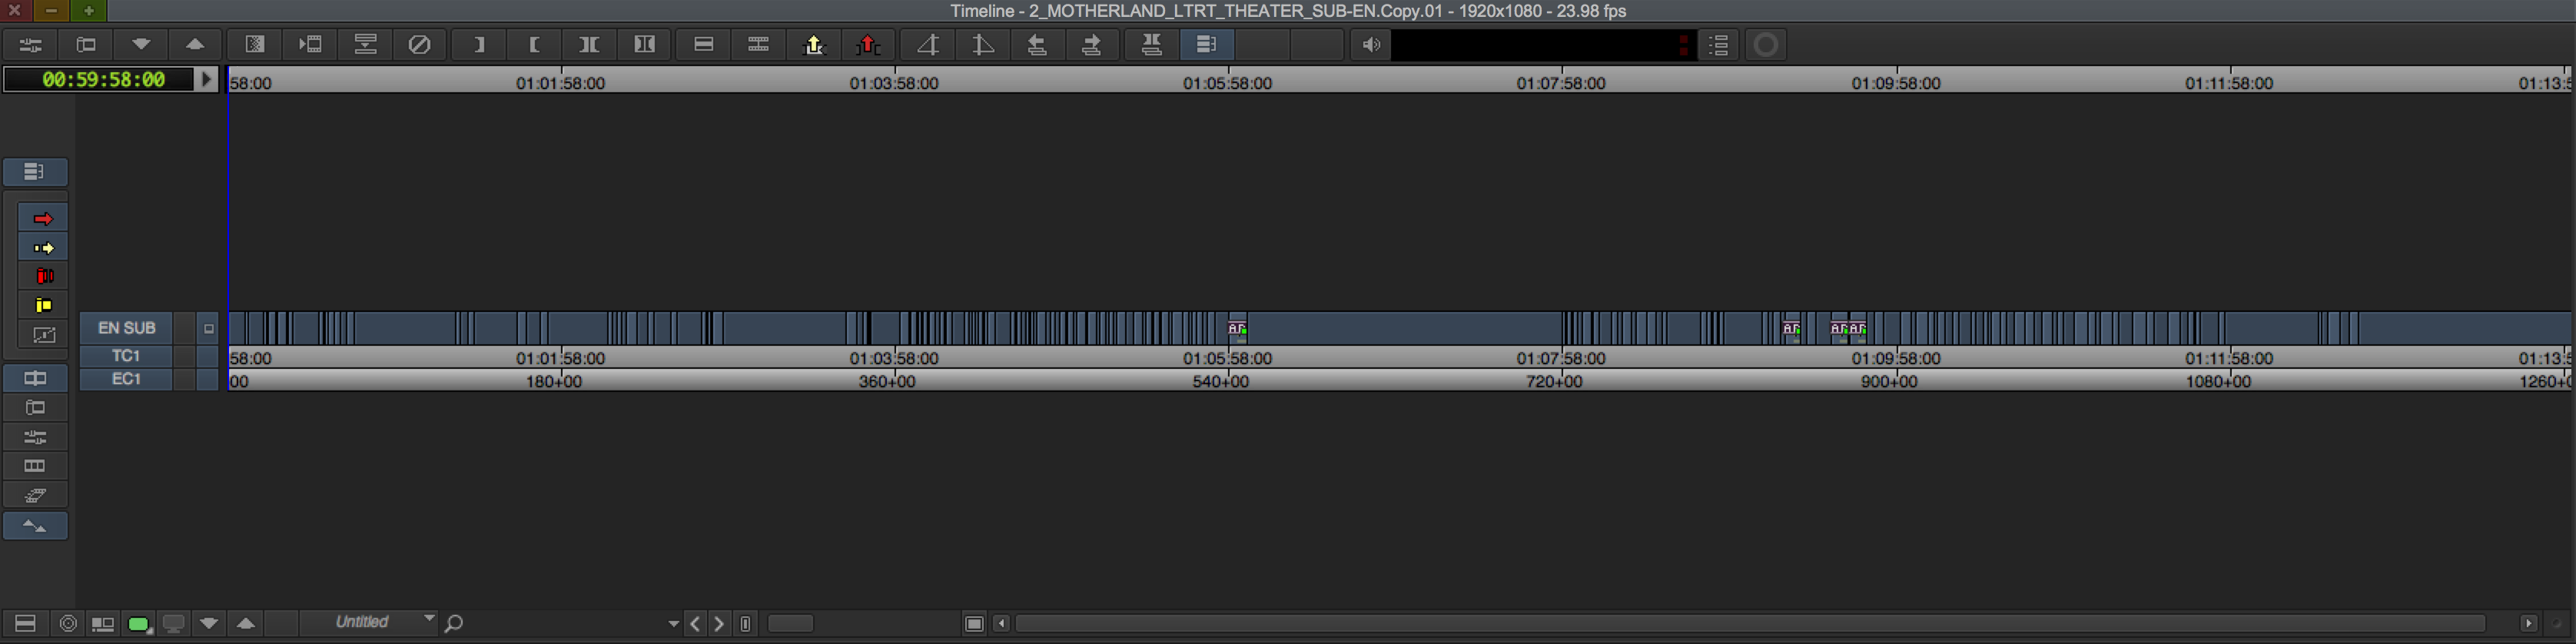 |
| 7.) Now it's time to EXPORT the AAF (Advanced Authoring Format) we'll be bringing into After Effects. Making sure I have an INPOINT and an OUTPOINT at the beginning and end of my sequence, I'll SELECT ALL MY TRACKS in my Timeline Window (CMD + A) and go to FILE->EXPORT |  |
| 8.) In the Export As window select UNTITLED from the EXPORT SETTINGS dropdown menu |  |
| 9.) Click the Export Settings OPTION BUTTON |  |
10.) The Export Settings As Dialogue Box will pop up. Make your settings like those in the screen shot → Export As: AAF
Video/Data Details
Media Destinations
|  |
| If you receive an AAF export involving ProRes media error after Step 12 you'll need to TRANSCODE your title media to a codec native to Avid. I recommend transcoding to DNxHD 36 in the AAF Export Setting As Dialogue Box |
|
| 11.) Press the SAVE AS... BUTTON and name the new Export Setting as AAF SUBTITLE TO AE and press the OK BUTTON. Close the Export Settings As Dialogue Box by pressing the SAVE BUTTON |    |
| 12. Choose a Destination path with sufficient hard drive space and name the export accordingly. Create a New Folder to store the AAF file. In this instance, I am saving the AAF export to my DESKTOP in a folder called AAF_TO_AE |  |


Overview
Content Tools