Summary:
Instructions on how to configure Thunderbird to work with Office 365. Images depict Thunderbird on macOS, but the steps will look similar for Thunderbird on Linux or Windows.
As of October 12, 2022
If you are already using Thunderbird, you may need to remove your account then re-add it.
UT O365 accounts now use Modern Authentication, also called OAuth2. How email clients handle this authentication differs from the previously used Basic Authentication which has officially been discontinued.
To remove an account from Thunderbird:
- To the right of the search box, click the Thunderbird Menu then choose Account Settings.
- Select your email account from the left sidebar. From the Account Actions menu, click Remove Account.
- Check the box to Remove message data and click Remove.
To add your account again, quit and reopen Thunderbird then follow the directions below.
Instructions:
Thunderbird is not an officially supported email client
We strongly recommend switching to the Outlook Desktop app or the Outlook Web App
Microsoft does not support Thunderbird for use with O365 accounts which often results in significant limitations of functionality. We cannot guarantee that UT O365 accounts will work and can only provide best effort support.
Thunderbird is also a third party application and is blocked by UT O365 by default— while an exception has been granted allowing for its use with UT O365 accounts, the exception could be revoked at anytime without warning if sufficient cause is identified.
Add your account to Thunderbird
- In the Home or Inbox tab of Thunderbird, click the Thunderbird Menu to the right of the Search bar then click Account Settings.
- OR, go to Tools then Account Settings.

- OR, go to Tools then Account Settings.
- Click Account Actions, then Add Mail Account.

- Enter your name and email address but do not enter your password. Click Continue.
- NOTE: if adding a Resource Account or Shared Email, enter the Display Name and Email Address of the Resource Account.

- NOTE: if adding a Resource Account or Shared Email, enter the Display Name and Email Address of the Resource Account.
- Thunderbird will attempt to discover the server configuration. If it fails to find the server configuration, enter them as follows then click Done:
- NOTE: If you're adding a Resource Account or Shared Email, enter the Username as follows for the Incoming and Outgoing Server: Your-Email@austin.utexas.edu\Resource-Account@austin.utexas.edu
- INCOMING SERVER
- Protocol: IMAP
- Hostname: outlook.office365.com
- Port: 993
- SSL (Connection security): SSL/TLS
- Authentication: OAuth2
- Username: Your UT email
- OUTGOING SERVER
- Hostname: outlook.office365.com
- Port: 587
- SSL (Connection security): STARTTLS
- Authentication: OAuth2
- Username: Your UT email

- A window with a UT Login will appear. Login using your EID credentials then authenticate with Duo.

- You may be returned to the account configuration screen and see a message saying "Unable to log in at server". If so, click Done.

- Then on the Account successfully created screen click, Finish.
Configure account settings and subscribe to folders
- From the Inbox tab, Right-click your email address and click Subscribe...
- Check the box next to each folder you want to see in Thunderbird, click Subscribe, then click OK.
- Make sure you subscribe to Drafts, Deleted Items, and Sent Items.
- Right-click your email address and select Settings.
- Under Server Settings, for When I delete a message, choose Deleted Items.

- Under Copies & Folders for When sending messages, automatically: select Other > Your Email > Sent Items
- Under Copies & Folders for Drafts and Templates, choose to Keep draft messages in: Other > Your Email > Drafts
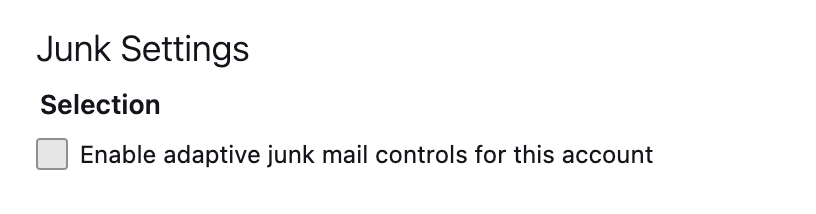
- Under Junk Settings, Uncheck Enable adaptive junk mail controls for this account
- Under Server Settings, for When I delete a message, choose Deleted Items.
Thunderbird is now configured for use with your UT O365 email.
FAQs:
Enable cookies in Thunderbird so the Duo page loads
- From the Home or Inbox tab, click the Thunderbird Menu to the right of the Search bar, then click Settings.
- Under Privacy & Security, set he Web Content settings as follows:
- Check Accept cookies from sites
- For Accept third-party cookies select Always
- For Keep until select they expire
- Check Send websites a "Do Not Track" Signal that you don't want to be tracked

- Quit Thunderbird
- Reopen Thunderbird then follow the steps under Instructions above to add your UT O365 email
Overview
Content Tools