Attach the lens and turn the camera on |
|
Open the door for the SD card and |
|
Insert the card in the card slot |
|
Press the Menu button |
|
This dial will navigate the menus |
|
| Toolbox ># Version = version #3 | |
The dial on the right of the screen will also navigate the menus and pressing the inner button will select the menu item. |
|
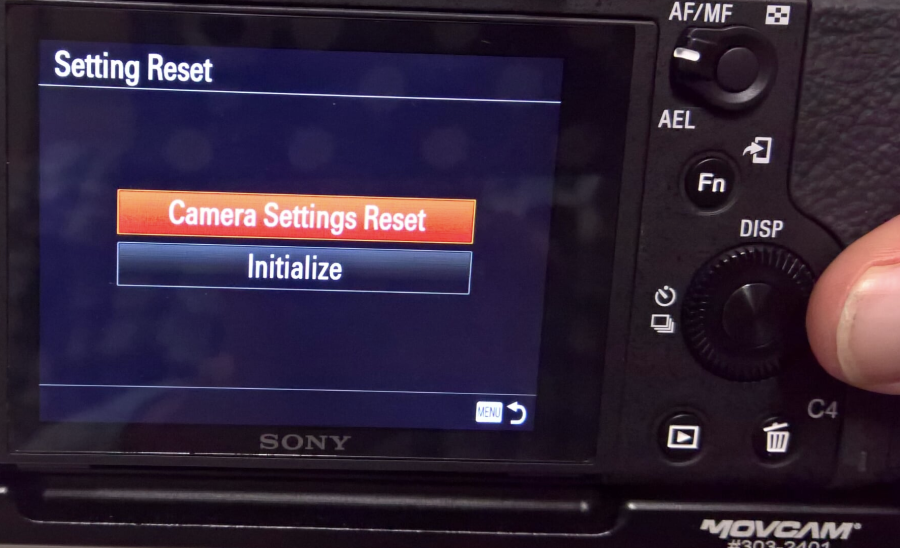
Choose the setting "Camera Settings Reset" |
|
Choose OK to Reset the Camera Settings. Camera will reboot and reset the menus to default. |
|
| Change the Power Save to 5 Minutes | Toolbox> #2 |
Next we need to format the SD cards. |
|
All Data will be deleted and click "Enter" to begin the formatting of the card. |
|
The Formatting will take a few seconds. |
|
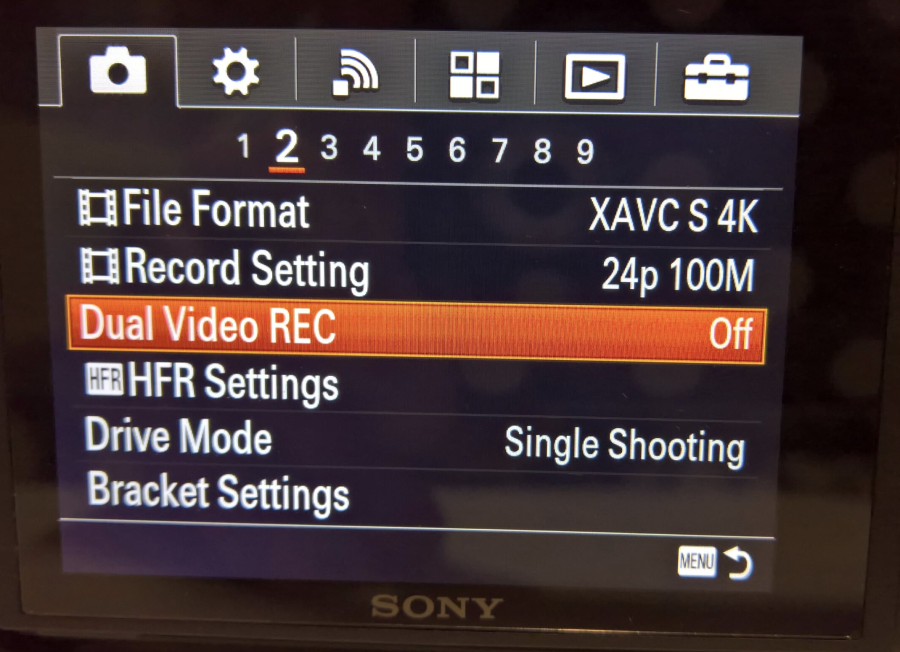
Next go to the "Camera" icon Menu Tab and choose page #2 of that menu |
|
File Format choose XAVC S 4K if you want to record UHD |
|
Now change the Record Setting by selecting it |
|
|
|
These are the recommended recording settings here
Leave the Dual Video REC "off" |
|
| HDMI SETTINGS | Toolbox #4 HDMI SETTINGS HDMI - AUTO 24/60 = 24 HDMI INFO - OFF TC - ON REC CTRL - ON CTRL FOR HDMI? |
| Are you using the Ninja "Flame" follow these next steps | |
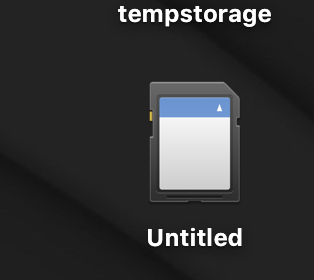
Insert card in card reader and it'll mount to the desktop |
|
Back up the contents to another hard drive with the file structure exactly as it is on the card.
|
|
Copy the contents of the card to this folder exactly as they are on the card |
|
Open AVID Media Composer |
|
Make sure the project is saved to your HD and then select New Project |
|
|
|
|
|
Navigate to the Card Backup Folder and choose the >Private> |
|
Select the files you want to use in the project and transcode them to work in AVID for offline editing. |
|
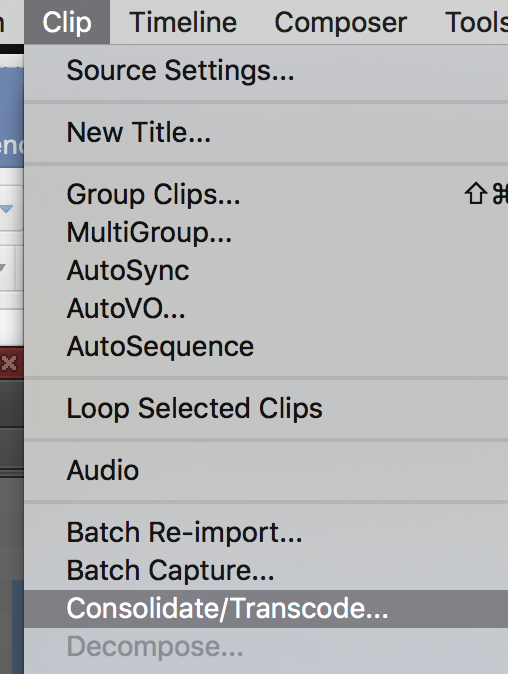
Once selected choose >Clip>Consolidate/Transcode |
|
Choose Transcode |
|
The resulting file will be the same raster size but will now be an AVID DNxHR Codec. Do this to all the files you want to use in your AVID project. |
|


Overview
Content Tools