To Bring into Resolve – Launch Resolve Application |  |
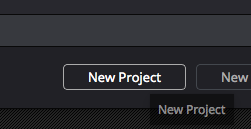
| Click On New Project |
Title the project – click Create |
|
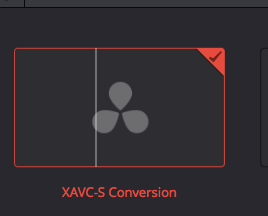
Double click the project to load it |
|
| Set your Video I/O Go to DaVinci Resolve>Preferences |  |
This step is for computer setup and output to a Calibrated MONITOR if you don't have a monitor connected you should move to a station in CMB 4.120 or the Grad Hall CMB 4.112Choose the Video I/O and GPU Choose Intensity Shuttle Thunderbolt Choose the Video I/O and GPU Choose Intensity Shuttle Thunderbolt | 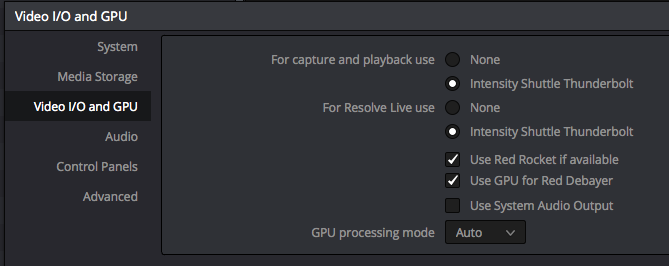 |
Or Choose Intensity Extreme depending what suite or lab you are using |
|
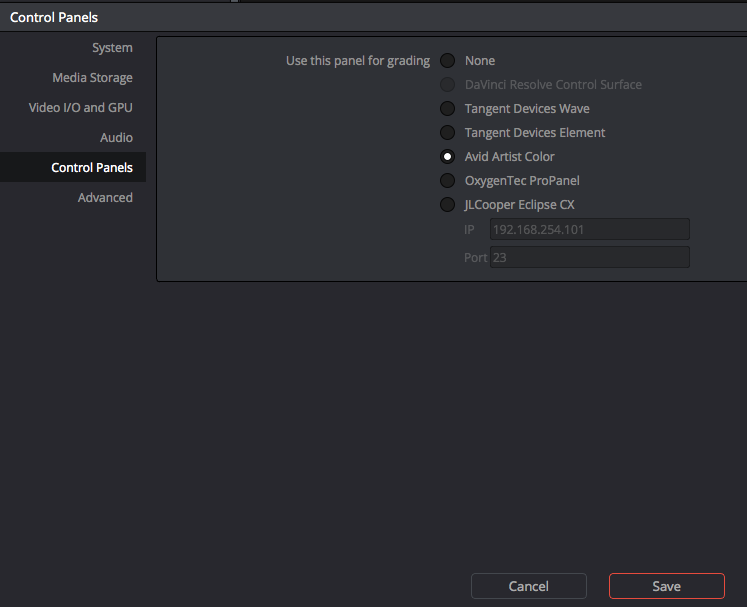
Change the Control Panels to the Tangent Devices Wave or AVID Artist Color if one is connected Click Save to apply changes |
|
| Unfortunately you have to restart Davinci to load the preferences. |  |
Quit the program and choose to save then reopen using the steps above.
|  |
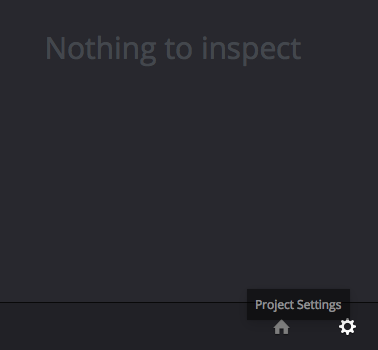
Set up some Project Settings. Click on the Project Settings Icon in the lower right corner of the screen |
|
Go to "Autosave" and turn it on saving every 10 min |
|
Click on Capture and Playback and choose> Video Capture and Playback HD 1080PsF 23.976 Click on Save |
|
Click on Master Project Settings > Change the Timeline Resolution>playback frame rate to 23.976 Change Playback frame rate to 23.976 Video Monitoring choose HD 1080PsF 23.976 Choose Save to apply these preferences |
|


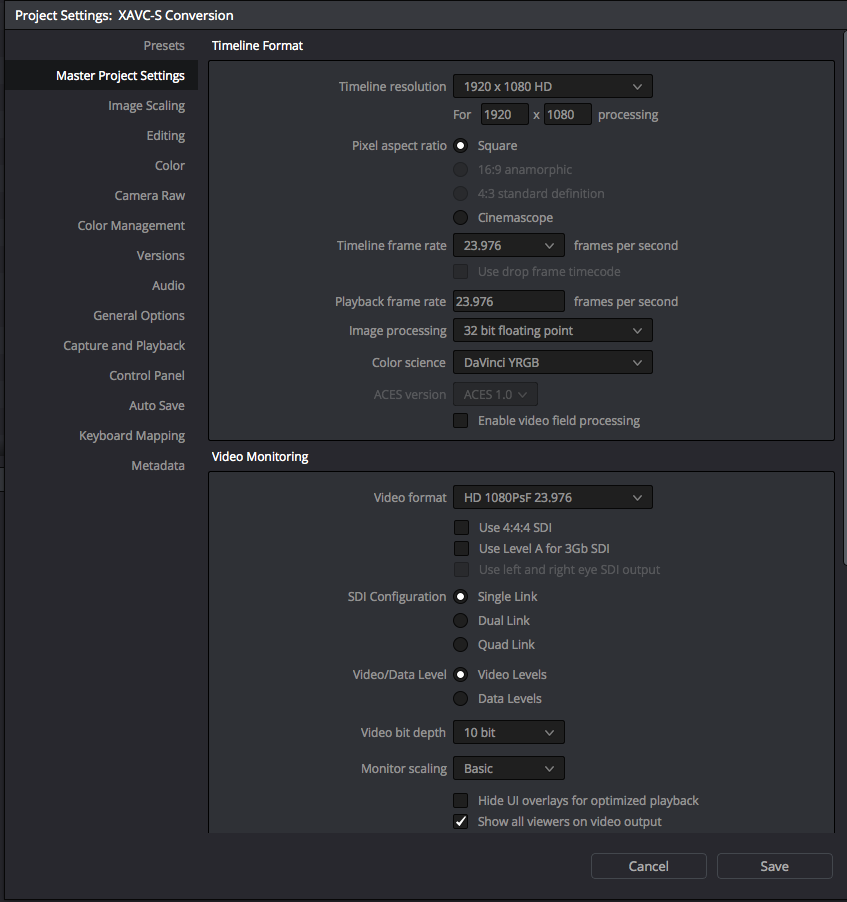
Master Project Settings generally will want your timeline resolution at 1920 x 1080 but if you have 2K footage and want to scale up then choose 2048 x 1080 or 2048 x 1024 |
|
Click "Save" to apply the settings |
|
Click on the "Edit" tab at the bottom of the screen on the "navigation" bar |
|
>File>Import Timeline>Import AAF, EDL, XML |
|
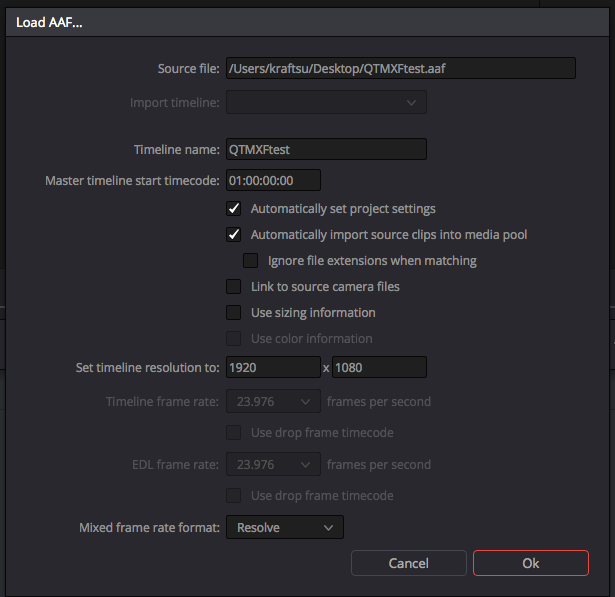
Select the .aaf to import |
|
Keep the default settings if you would like to guide Resolve to the files to bring into the media pool. See later in this document for adding media prior to importing into Resolve. |
|
Select Yes |
|
Navigate to the folder and click OK |
|
Second option is to add the media to the resolve project first | |
Load your media into the media pool> |
|
>File>Import AAF, EDL, XML |
|
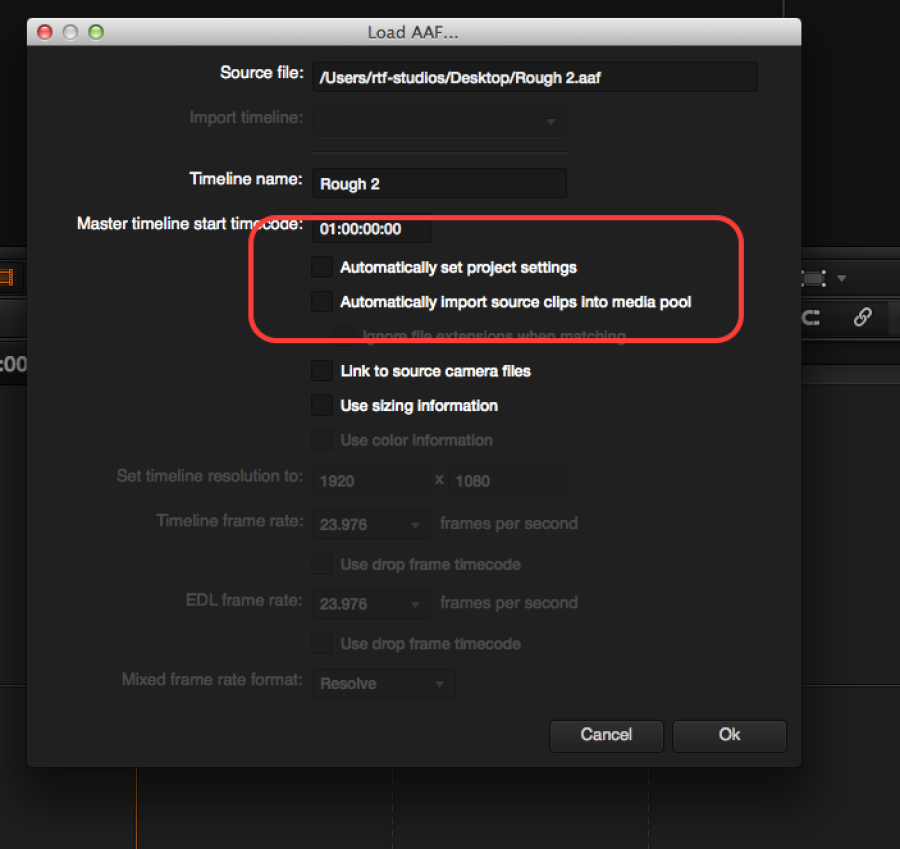
Select the .aaf to import |
|
If you already added your files to the Media Pool then choose to deselect Hopefully you will link all the media with out a problem if you have difficulty talk to a proctor and have them Call help desk or come to CMA 3.104 |
|
These were the errors we got in our test but it's usually a title or something not needed > See this Title It's offline and that is okay.
|
|
The Next Steps will Explain how to import the Reference QuickTime into the Resolve Project Resolve – Click on Media Tab > |
|
>Go the the Media Storage >navigate to the folder containing the quicktime and select it |
|
| Right Click the QuickTime >Add as Offline Reference Clip |
|
| Go to the Edit tab and |
|
Go to your Media Pool | 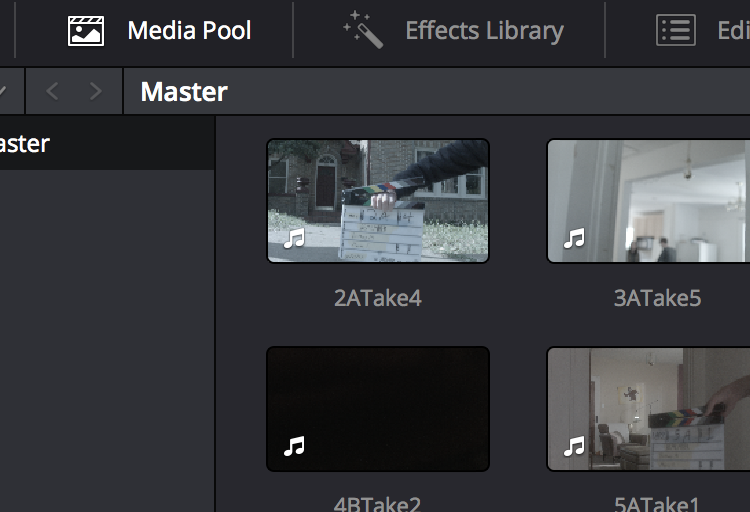 |
Locate the Timeline in your Media Pool It will have a "timeline" icon in the lower left corner as shown here |
|
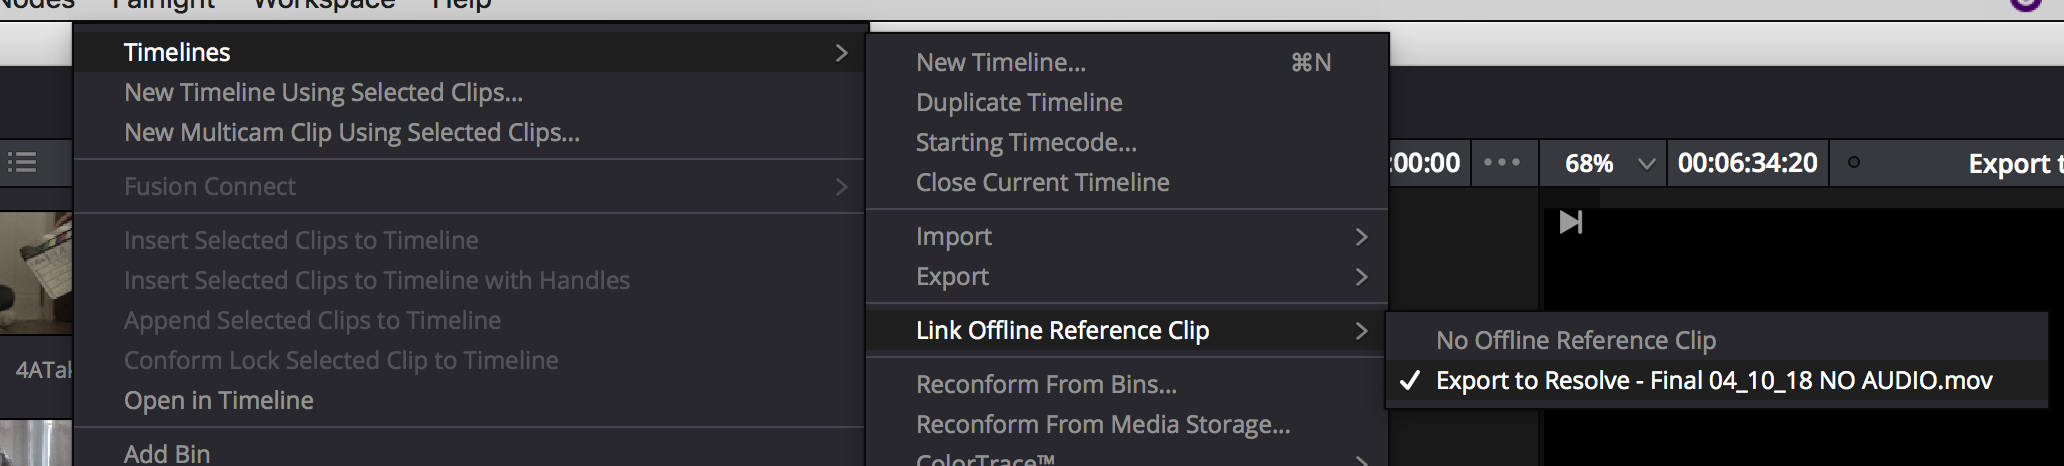
| Right click on the timeline and |
|
>Link Offline Reference Clip |
|
Go back to the timeline On the source side select the >Offline choice in the Dropdown |
|
Go to the source window in conform view and choose to display the "Offline" by selecting the checkerboard icon.
If you click the Up and Down arrows you will navigate the timeline and the reference clip will follow exact picture match. |
|


Overview
Content Tools