The purpose of this wiki is to demonstrate how to utilize the new Avid Titler+ feature in Avid Media Composer 2019 and beyond to create rolling/scrolling credits. These rolling credits are similar to those found in feature-length films.
1.) Open the Avid Media Composer application. In this example, we are using Avid Media Composer version 2020.10 |
|
| 2.) At the Project window, navigate and select the project you're working with and click the Open button. |
|
3.) Navigate and open the sequence you'd like to add your rolling credits to. In this example, we are using a section of the television series Mr. Robot as the background video sequence. |
|
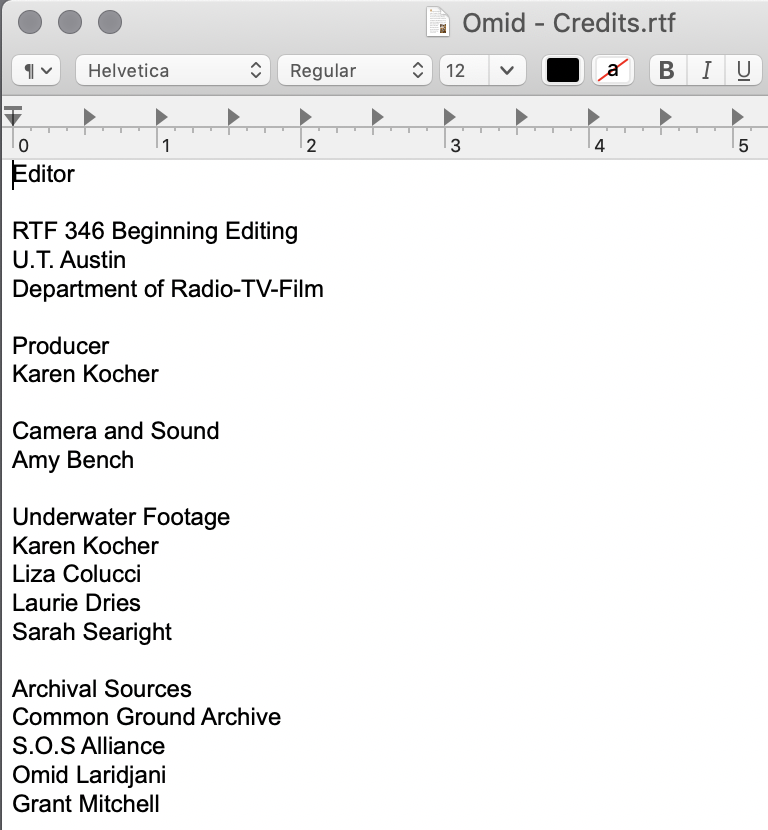
If you need a generic template for wording, Karen Kocher has one available for download You can open the template in a word processing application like TextEdit and edit the names, positions, etc. When finished, Select All (Command + A) and Copy (Command + C) the text of your credits |
|
4.) In Avid Media Composer, add a new video track which will be above your video track. To do this either use the keyboard shortcut Command + Y or From the top Application Toolbar, Select Timeline → New → Video Track |
|
| 5.) Find a location where you'd like to start your rolling credits. Select Video Track 2 and press the |


Overview
Content Tools