The purpose of this wiki is to demonstrate how to utilize the new Avid Titler+ feature in Avid Media Composer 2019 and beyond to create rolling/scrolling credits. These rolling credits are similar to those found in feature-length films.
If you'd prefer to watch a video tutorial, a similar workflow can be found here.
1.) Open the Avid Media Composer application. In this example, we are using Avid Media Composer version 2020.10 |
|
| 2.) At the Project window, navigate and select the project you're working with and click the Open button. |
|
3.) Navigate and open the sequence you'd like to add your rolling credits to. In this example, we are using a section of the television series Mr. Robot as the background video sequence. |
|
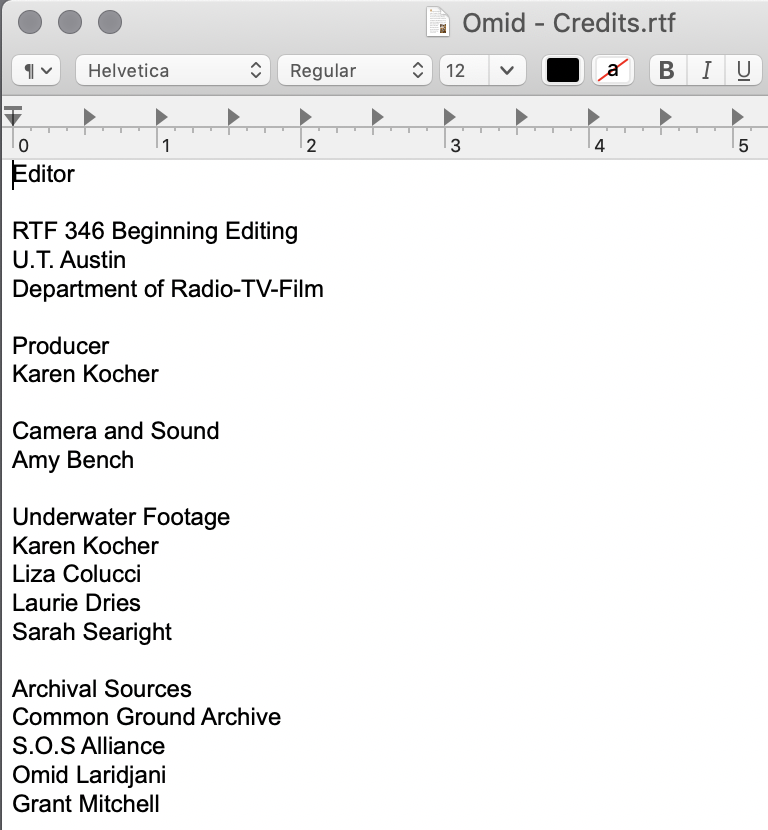
If you need a generic template for wording, Professor Kocher has one available for download You can open the template in a word processing application like TextEdit and edit the cast names, positions, etc. When finished making your edits, Select All (Command + A) and Copy (Command + C) the text of your credits |
|
4.) In Avid Media Composer, add a new video track which will sit above your current video track. To do this either use the keyboard shortcut Command + Y or From the top Application Toolbar, Select Timeline → New → Video Track |
|
5.) Find a location on your sequence where you'd like to start your rolling credits. Move your playhead cursor to that chosen location. Select Video Track 2 in the timeline and press the Add Edit button to make an edit in Video Track 2 of your sequence. In this example, I've chosen the 40 second mark (01:00:40:00) to begin the rolling credits as the main character walks down the hallway. I've made an edit in V2 using the Add Edit button. |
|
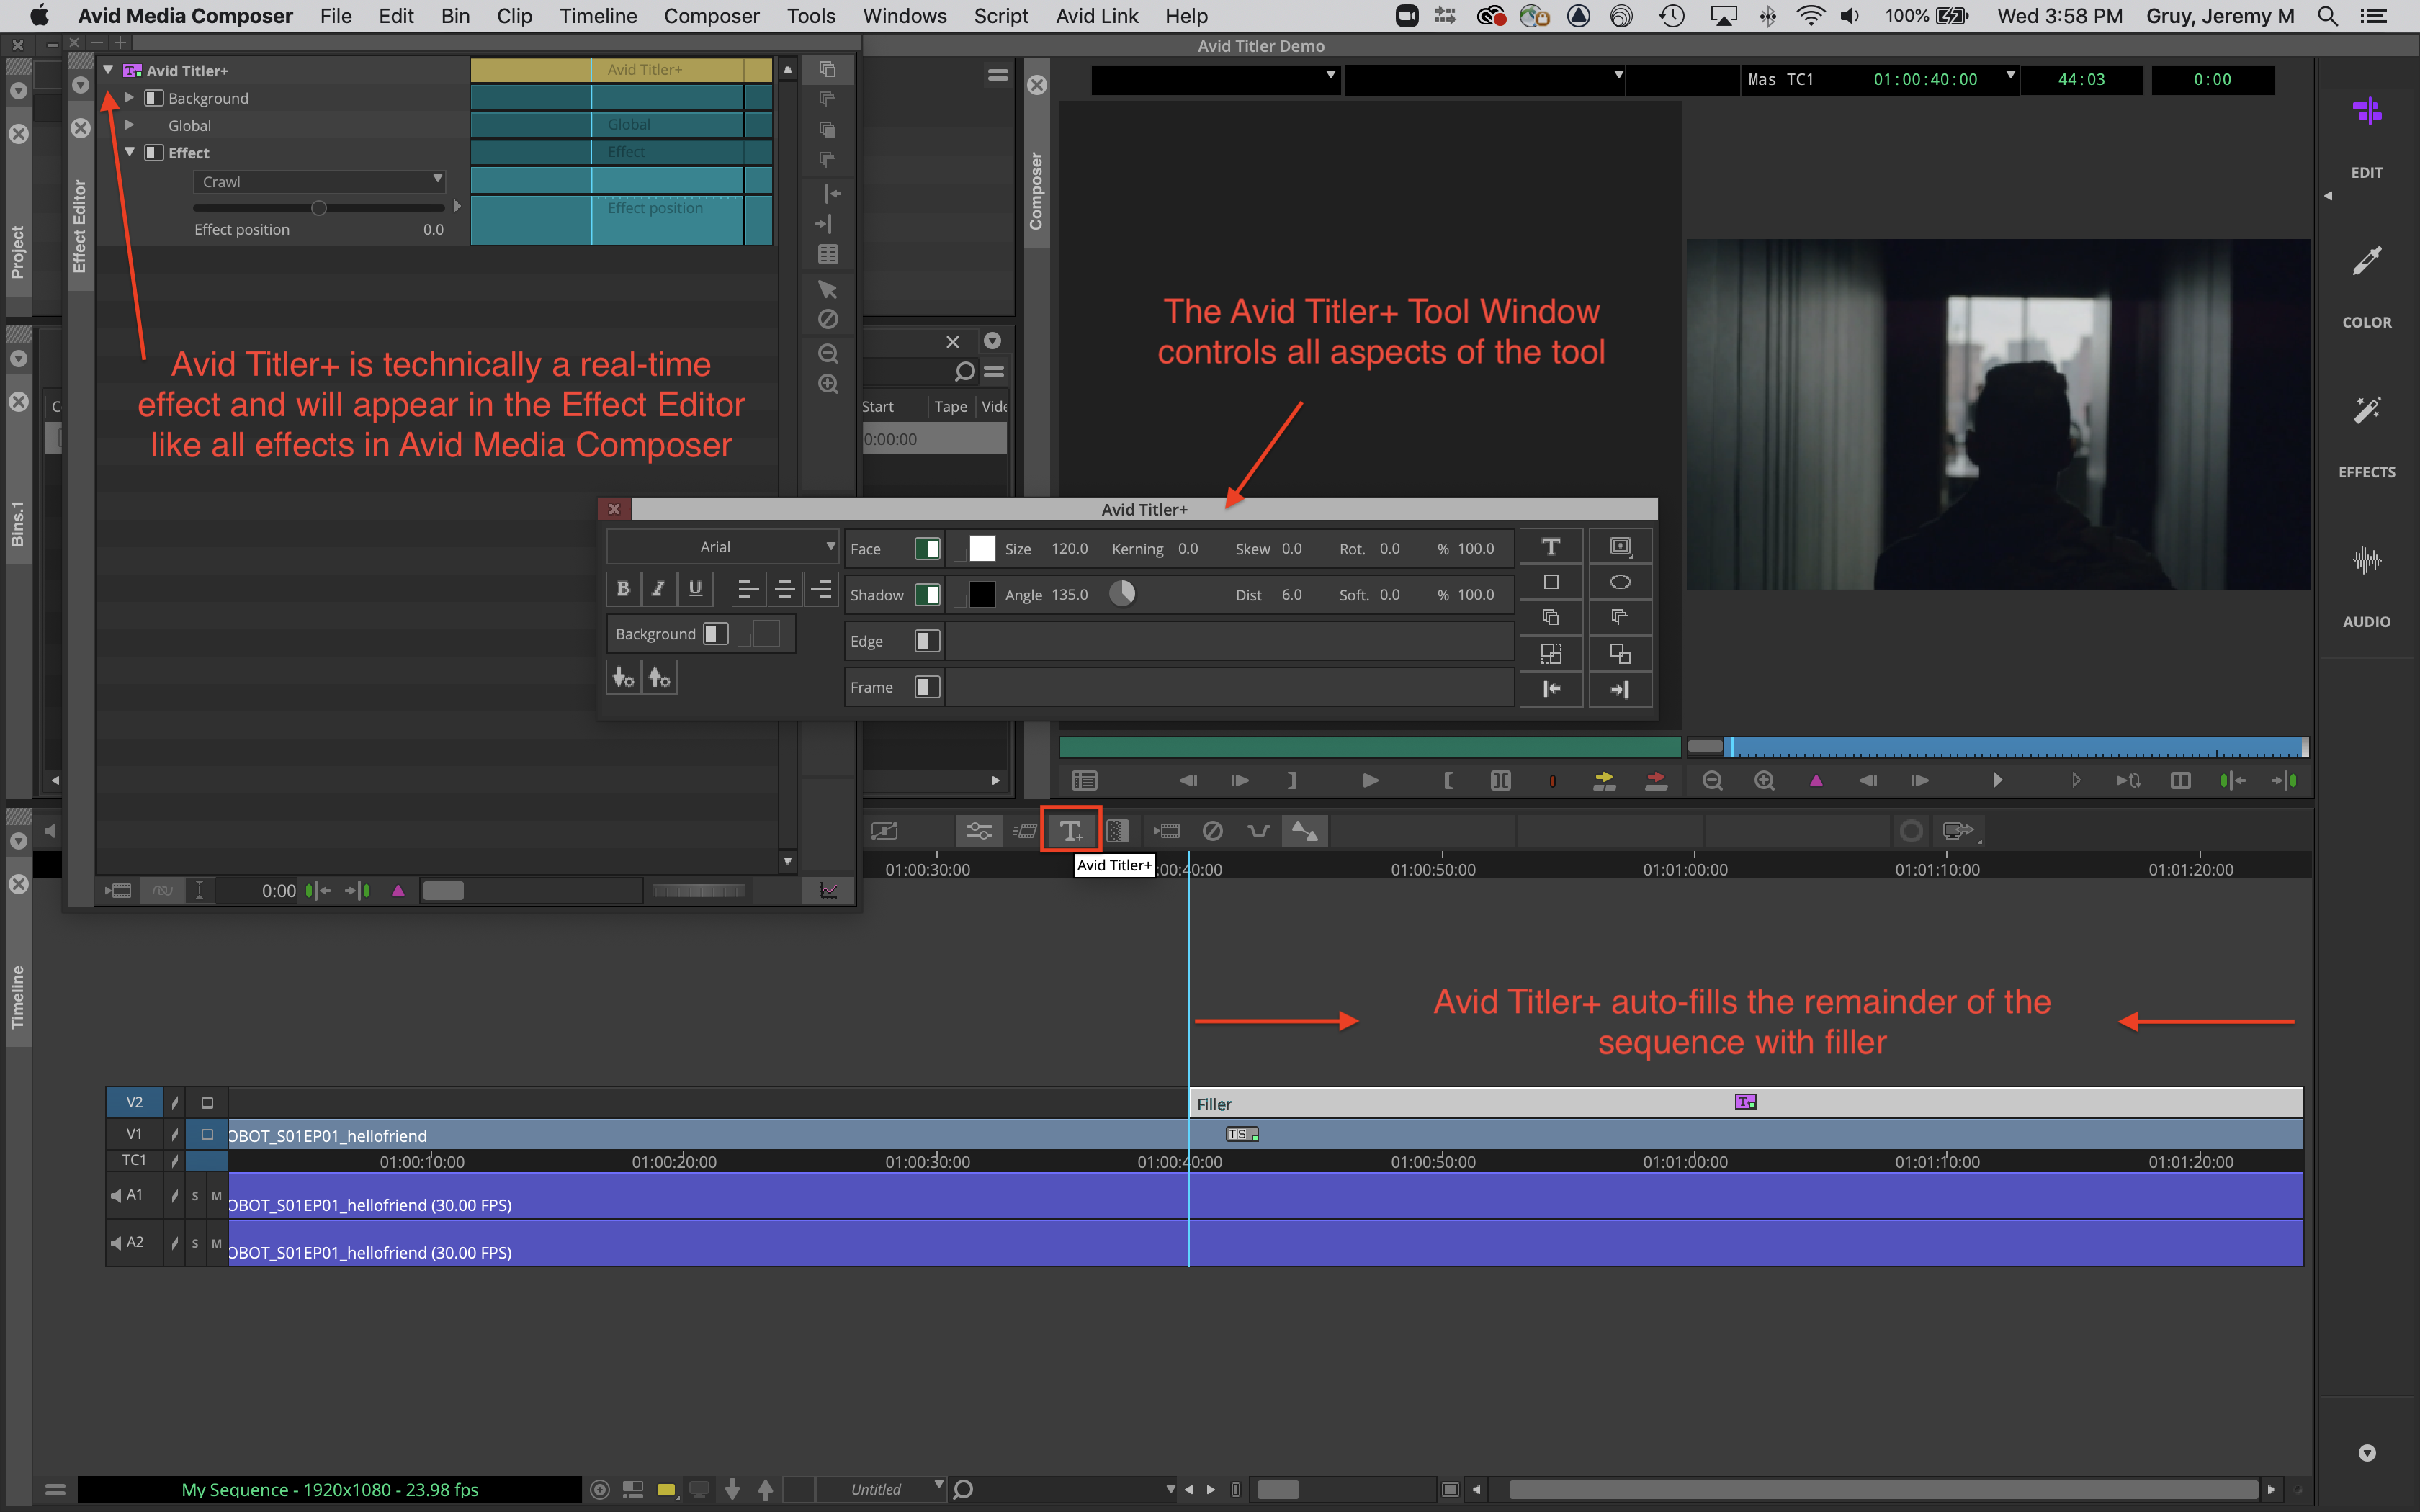
6.) I can simply click the Avid Titler+ in my Timeline toolbar to automatically apply the effect to the remaining half of my sequence. Filler will automatically be generated and the effect will be applied. The Avid Titler+ Tool floating window will also appear. The Effect Editor window will also appear. |
|
| 7.) In the Avid Titler+ Tool floating window, select the Add Text Field button to draw a text field in the Record monitor of the Avid Media Composer. |
|
| Once the box has been drawn by clicking and dragging, you can Paste (Command + V) the credits you copied earlier in Step 3 from the Text Editor. |
|
If you don't see your credits in the Record monitor be sure to double-check you've enabled track monitoring in the Timeline window on your new video track where the title effect has been added. In this example, we've enabled video monitoring for Track V2 (and everything below.) |
|
8.) Formatting options like typeface, font size, color, drop shadow, etc. are available in the Avid Titler+ Tool floating window. To change all text formatting in the field, triple-click the text field to select the entire field/bounding box. |
|
9.) To animate your credits (i.e. make them scroll) navigate to the Effect Editor window pane. Under the Avid Titler+ purple effect icon, locate the Effect row and enable by clicking the switch. |
|
| Once the Effect has been enabled, use the disclosure triangles to reveal the drop-down window, and select Roll. |
|
10.) Now that we are in the Effect workspace, you can see Avid has already placed a keyframe at both the head and tail of our clip effect. Click on the first set of keyframe triangles in the Effect Editor. This is the start of our rolling credits which should be off-screen. Slide the Effect Position slider to the left until the text just barely goes off the bottom of the Record monitor screen. In this example, my text will be completely off the screen at the value of 950 (not shown here purposely to demonstrate the relationship between the Effect Position slider and the text field in the Record monitor) |
|


Overview
Content Tools