If you mixer gave you 1 audio file and not 6 separate channels containing your surround sound mix then use this wiki
AVID - How to Make a 1920 x 1080 5.1 Surround Sound QuickTime Using Your Surround Sound Mix
| Make a New Bin to import your surround sound mix files |
| Title the bin how you wish |
| Go to >File>Input>Import Media |
|
| Navigate to your files you would like to import |
|
| Click on Options |
|
| Click on Options again |
|
| Click on the Audio Tab and then click on "Edit" |
|
We need to change the Multichannel Audio to 5.1: Pro Tools: L C R Ls Rs Lfe (this doesn't make sense because the rest of the document uses SMPTE, but trust us...this is how you want to do this...at least in this version of Avid) |
|
| Click OK here |
|
Uncheck all the boxes here EXCEPT Autodetect Broadcast Wave Monographic Groups |
|
Navigate to your audio files Select the files and click OPEN |
|
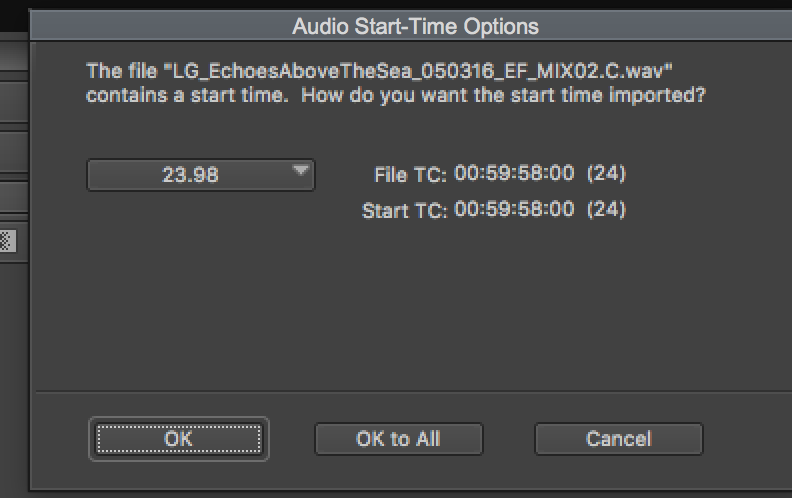
| choose 23.98 here and click OK |
|
| The track is importing here |
|
| The file with A1-6 Tracks will be created |
|
When you load it into the source window the file will have a 5.1 icon on it shown here |
|
| Create a new sequence and edit the 5.1 audio into the new timeline and then delete the other audio tracks that are automatically generated in the timeline |
|
| delete the other audio tracks that are automatically generated in the timeline |
|
Edit the Video Track on to the existing timeline that contains the 5.1 audio. Check the Sync of the entire movie before exporting |
|
| Next go to >Tools Audio Mixer |
|
| Change these audio mixer settings for the timeline |  |
| Make sure the timeline is set to 5.1 Sequence |  |
| Go to Audio Settings |
|
| Set the Display Channel order to SMPTE |
|
| Go to >File>Output>Export to File |
|
| Click on Options |
|
Click on the Audio Format Tab Change the QT Audio Option to 5.1 Click OK |
|
Click on the Video Format Tab now and we'll set up the Video Format Click on Custom Button Make sure Video and Audio button is selected |
|
Choose Export As QuickTime Movie
Display Aspect Ratio leave on Native Dimensions Click On Format Options |
|
Next Step - Click on Video Settings |
|
Select the Apple ProRes 422 Codec Compression |
|
Click on Sound Settings Change to the following Audio Format: Linear PCM Channels 5.1 (L R C LFE Ls Rs) Rate: 48.000 Quality: Best Sample size: 24 Little Endian |
|
| Movie Settings Video Compression Type: Apple ProRes 422 Quality: Medium don't worry about that it's high quality Audio Format: Linear PCM Channels 5.1 (L R C LFE Ls Rs) Rate: 48.000 Quality: Best Sample size: 24 Little Endian Click OK |
|
Color Levels Setting - PLEASE READ VERY Important- we suggest you do a test and export 1:00:00 one min of your project in each setting to make sure your black levels are correct.Do one export with the Keep as legal range setting selected and one export with the Scale from Legal to Full Range color levels selected. Look at each export USING VLC NOT QUICKTIME PLAYER and make sure your black levels don't look grey or "Milky" they look black. And conversely, make sure your black video levels don't look TOOOO dark and you are loosing detail. This setting should match how your video was brought into AVID. If it was brought in at Legal Range then you should export at Legal Range and if your video was initially brought into AVID at RGB then your video should be exported as Legal to Full If you don't remember how your video files were initially brought into AVID then export both versions of the timeline and look at them both in VLC. Then choose the correct version to turn in.If you can't decide then ask tech staff to look at each one via the waveform monitor in AVID. |
|
Check the settings shown here to make sure you have it set right Click Save |
|
Perform the export choose a place to save the file choose Save
|
|
| To check the file open your project in one of the CMB STUDIOS And link your QT you just exported and | |
| Next go to >Tools Audio Mixer |
|
| Change these audio mixer settings for the timelineMake sure the timeline is set to 5.1 Sequence |
|
Set the studio setting to be Direct Surround tracks in EXT order This works to play surround in the studios follow this to setup the touch panel How to Test a 5.1 QuickTime Movie in Surround Sound in Moody College |
|


Overview
Content Tools