1 . Batch copy filename to its Metadata Title
If you don't already have the script set up in Adobe Bridge:
a. Obtain a copy of the script: fileNameToTitle.jsx - currently located here:
\\austin\disk\jsg-npl\DocLib\code_and_scripts\PhotoshopScripting\Specify Image Scripts
b. Place it in your local user folder here
C:\User\...your eid name…\AppData\Roaming\Adobe\Bridge CS4\Startup Scripts
for example, liath's location is
file:///C:/Users/la7959/AppData/Roaming/Adobe/Bridge%20CC%202017/Startup%20Scripts/
You may be using a different version of Bridge, so the url might be "Bridge CS5" or some other similar name.
If the url above doesn't work, then go to C:\User\...your eid name…\AppData\Roaming and look for the Adobe folder, then find the version you are using on your computer. Once inside that folder, look for the Startup Scripts folder. If it doesn't exist, then you will need to create one. The script (fileNameToTitle.jsx) must go into that folder.
c. Start Adobe Bridge. A window should pop-up that asks you to "Accept the new script." If Adobe Bridge is already running, you will need to close the program, and re-open it in order to get the pop-up.
To Use Script:
Open Adobe Bridge, find and open the image folder you are working in, and select all the images that you wish to update.
Go to Tools and click "Add FileName to Title" (the script will take longer to run if you are working over the network)

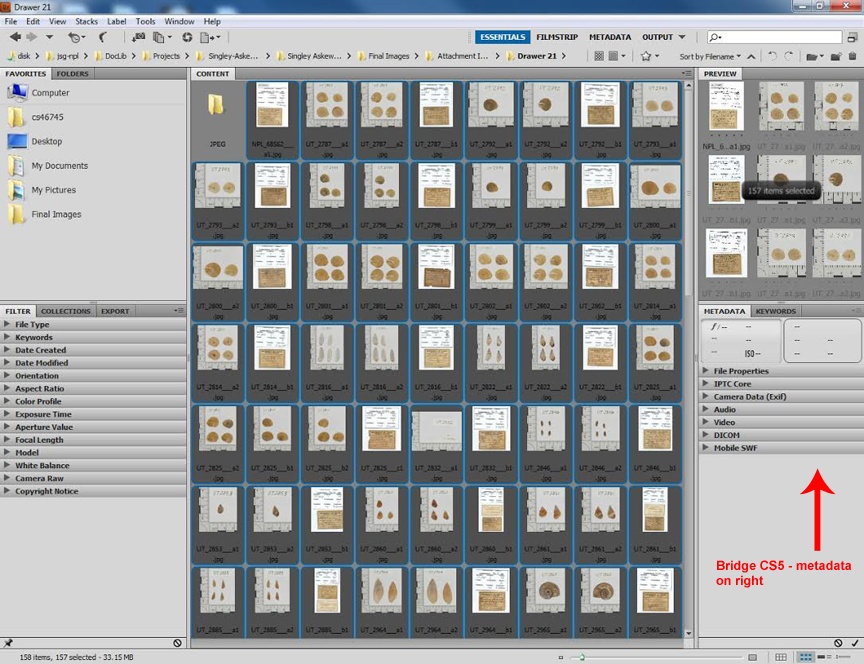
Once your "AddFileName to Title" script has finished, look for the metadata section of the Bridge window to find all the metadata associated with the images. Depending on the your version of Bridge, the data will be entered either on the left or the right side of the screen. Either way, you will be able to batch edit metadata here by selecting all of the images and entering the data you need.
For details on what metadata to use see Metadata Standards at NPL

Batch resize images to max size of 800px by 800px (Please note, this is the MAX width and/or height. This is not the final shape of the image—it will be EITHER 800px height or 800px width depending on the original shape. In other words, the final image will not be a square unless it started out as a square).
Exceptions to images sizes: drawer images taken with the iphone or google glass do not need to be resized.
Open Photoshop and go to File > Scripts > Image Processor

Inside the Image Processor window, point to the folder you wish to resize, and point to the location of a folder to place your resized images. Be sure you have "Save as JPG" and "Resize to Fit" selected. Set quality to the 100, and set width and height to 800px. Click Run.
