- Download the watermark from UT Box
- Use this link: https://utexas.box.com/s/zj1a87fr046t6nescszn
- Unzip the downloaded file

- File folder will be displayed when file is unzipped

- Open your AVID project
- Go to >File>Open Bin

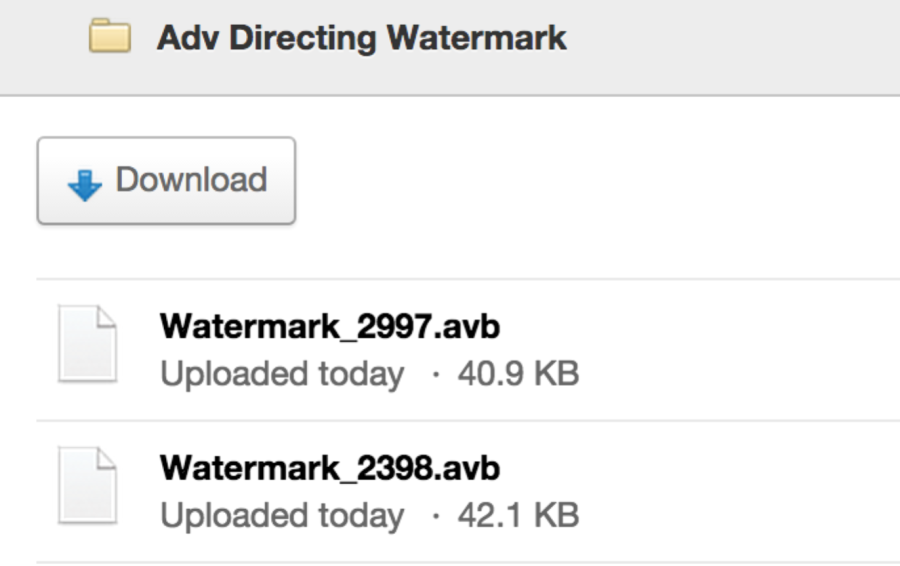
- Navigate to your downloads folder and select the folder and choose "Open"

- Choose the .avb file that matches the frame rate of your project. 2398 or 2997and select Open

- Now the title is open your project.

- Select the timeline you want to place the title on and go to >Clip>New Video Track

- Patch the Source V1 track to V2

- Choose the 23.98 or the 29.97 title depending on the format of the AVID Project
- Load the title into the source window by double clicking it. If you get an error about frame rate then load the other title.

- Place your inpoint at the beginning of the timeline
- Deselect all other tracks in timeline so you only overwrite on V2
- Overwrite the title to V2 by clicking the red overwrite button several times till the title has covered the duration of the timeline.

- With the timeline selected go to >Clip > Render In to Out to render the timeline
- Now its ready to export see this link:
file:///Users/kraftsu/Downloads/AVID-%20Export%20a%20AVID%20DNxHD%20Quicktime.pdf
- or if that does not work then use this one:
- Or try this lower quality workflow
https://wikis.utexas.edu/display/comm/AVID+-+Export+an+H264+Quicktime
Overview
Content Tools